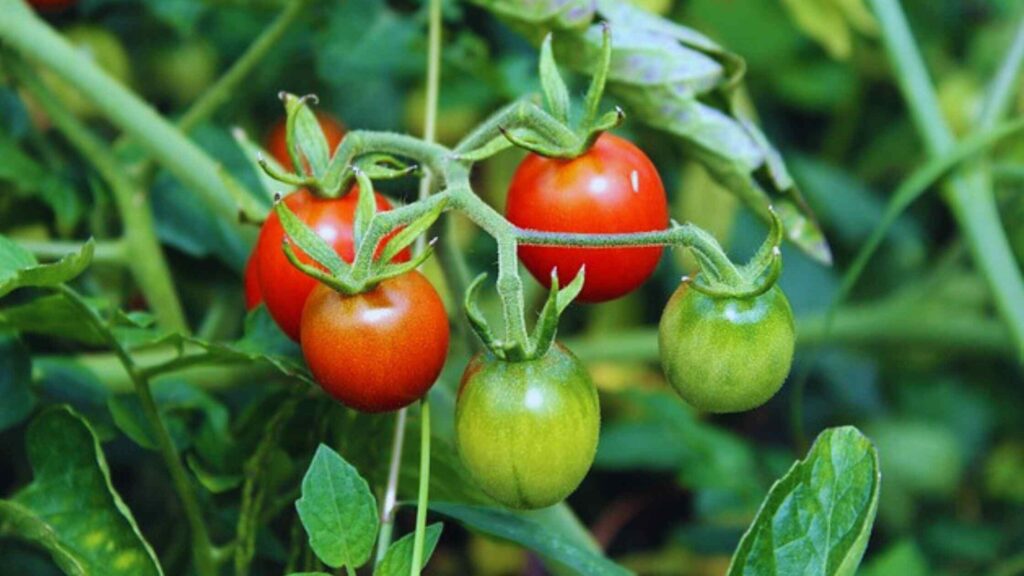
One of the most popular plants to grow is the cherry tomato plant since it grows easily and yields a harvest rapidly. One plant can yield enough fruit for one family if it is given the right care. Cherry tomatoes grow well in pots even for novice gardeners.
Planting the Seeds
I have taken some fresh Cherry tomatoes. Open-pollinated heirloom tomatoes are best. I have taken a medium-sized pot 5-6-inches diameter pot is good enough. Verify that the bottom of it has some holes for drainage.
I used a mixture of equal parts vermicompost and garden soil with coco peat to start cherry tomato seeds. Before using, thoroughly mix them. Pour the soil mixture into the pot. maintained a minimum 2-inch space between the soil’s surface and the pot’s rim.
I have cut the tomatoes in half with the knife or cutter and keep them as it is on the soil surface but this could cause fungus or mold (due to pulp) to grow especially in soggy and damp conditions. To avoid fungus and mold growth l have made a small cut and gently squeeze out the seeds over the soil surface. Seeds can also be purchased from a nursery or Garden center. There are several types of varieties to choose from.
Temperature
The weather should be around 70 to 79 in Fahrenheit and around 20 to 27 in Celsius when planting seeds. I have separated closely packed or overlapped to get better germination. I covered the seeds with loose soil and firmed down lightly with your fingers to secure the seeds. Good seed-to-soil contact is important for germination. I added water with a gentle shower. This Cherry tomatoes can be used for fresh eating and salads. I placed the pot in a sunny area to generate the seeds faster. I have ensured to keep the soil a little moist at all times during the germination phase.
Germinating Stage
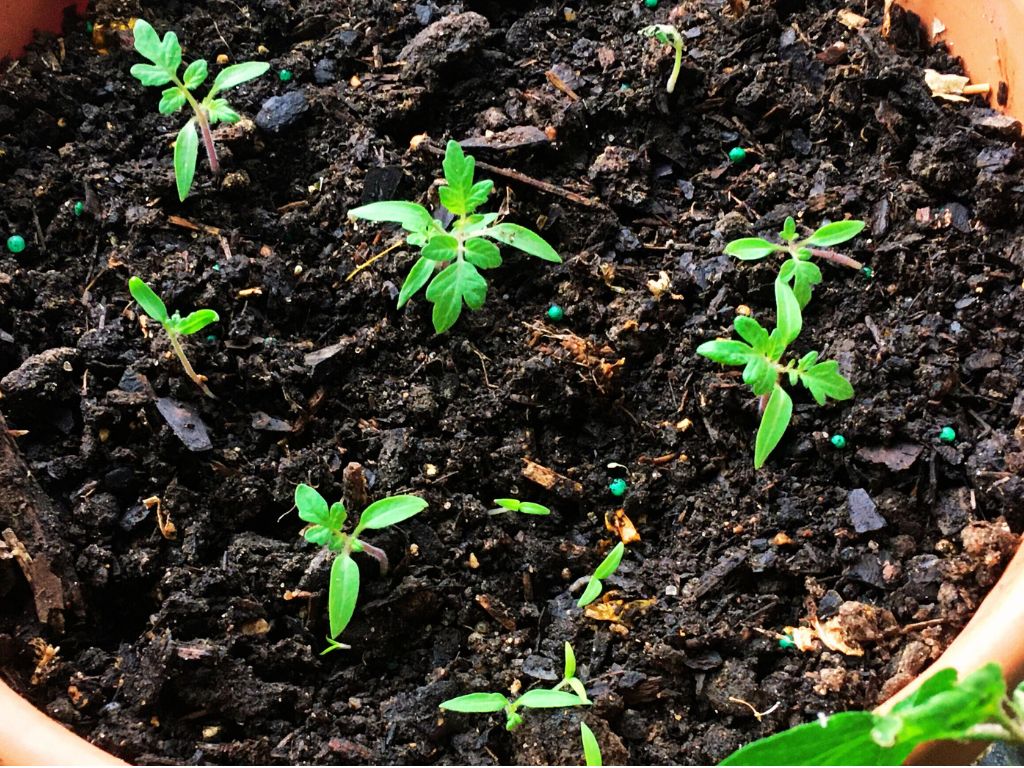
After 9 days, finally, seeds started to germinate some cracks on the soil surface were visible as new ceilings a pushing the soil up. Cherry tomato seeds germinated after 12 days. After 15 days, tomatoes grow remarkably first and tiny plants push up noticeably higher practically every day, which is incredibly satisfying to water. After 19 days true leaves have been come. I added water whenever the soil looked or felt dry to the touch. I avoided watering the foliage as it may cause diseases to spread.
Transplanting to the Container
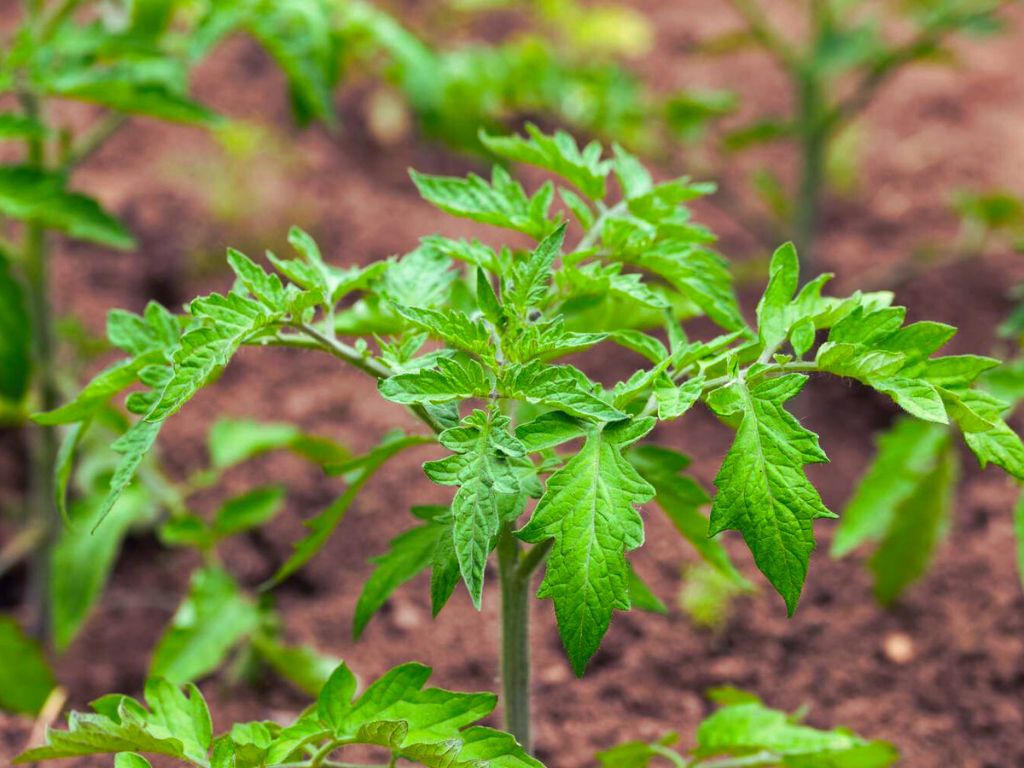
The seedlings were eventually ready to be moved into their permanent growing container after 27 days when they were between 4 and 5 inches tall. Since this pot is perfect for network plants, I have decided to grow the plant in it. It has a capacity of 4 to 5 gallons. Make sure the pot has holes at the bottom for drainage if you wish to plant in one. If it doesn’t drill a hole or two in the bottom. The pot’s dimensions should be 10 to 12 inches across and 14 to 16 inches deep.
I filled in the potting mix and filled in more until it came 2 inches below the rim of the container. The soil mix was 60% Garden soil and 14% organic compost which was cow dung compost, vermicompost, or Kitchen waste compost. I noticed Little White hairs along the steam as the tomato grew these little hairs could develop into roots, helping the tomato grow stronger.
I made a hole in the middle of the soil mixture that was 4 to 6 inches deep. Slide the lower root section into the opening. Since tomato plants often produce roots from the stem, I always plant them as deep as possible, which aids in the development of a robust root system. I filled the hole with the dirt mixture and pressed it down a little. I then offered some assistance.
Location Selection
I gave the plant plenty of water early on. For continuous growth, the soil needs to be kept slightly moist at all times. I’ve selected a spot that gets four to six hours of direct sunlight each day. Insufficient light exposure will cause a plant to wither and yield inferior food. Every time the soil begins to dry out, I have made sure to add water.
Flowering Stage
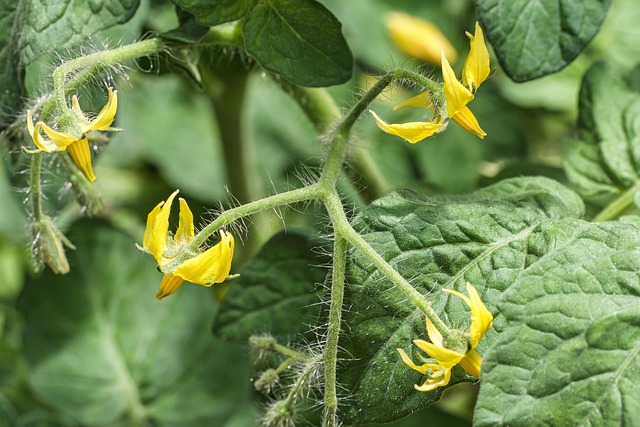
The plant began to flower in about 45 to 48 days. These warm-season plants grew well in containers. Beginners can grow Cherry tomatoes in pots with great success. After 47 days, I taped on the tomato flowers once they opened to help pollinate the flowers, generally to distribute the pollen grains to ensure pollination takes place.
The blossoms become little green Troops after 55 days. Standard pests are potato beetles and stink bugs. After removing them, I utilized natural insect repellents like garlic and chilli sprays. By providing my tomato fertilizer, I’ve ensured that it has an abundance of food to grow quickly. I utilized vermicompost of cattle manure as an organic fertilizer every 15 to 16 days to help plants flourish.
Using a gardening tool, I pushed the fertilizer into the first few inches of soil, and then I added water right away. The cherry tomato plants grew quickly, and once the vines started to get long, I was given support for them. A bamboo stick or a tomato cage can be used.
I have staked the plants up to keep them upright so their stems don’t bend and break under the weight of the tomatoes. You will need to the vine around the stakes as it grows. I tied the stems loosely to the sticks with twine or strips of fabric. Ripe cherry tomatoes have come out of their stems very easily and are well worth an extra day. I had to wait till they were ripe to pick them up. Air circulation is encouraged when plants are raised off the ground, resulting in cleaner, healthier fruit.
Harvesting Period
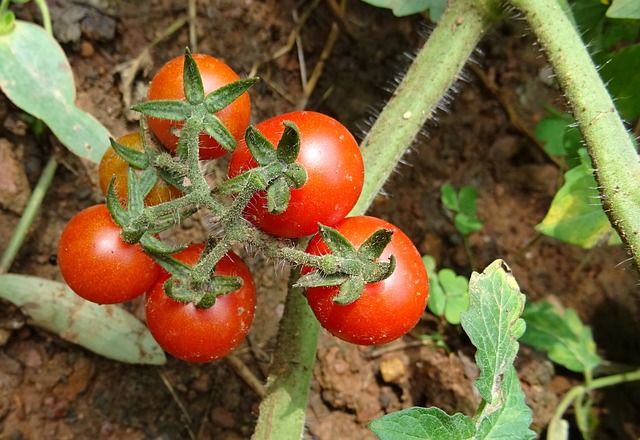
I picked individual fruits or cut the whole bunch off my plants have been produced for at least 2 to 3 weeks more. Cherry tomato plants produce small, round fruits suitable for fresh eating and salads. Harvester tomatoes as they ripen to encourage the plants to keep producing.

