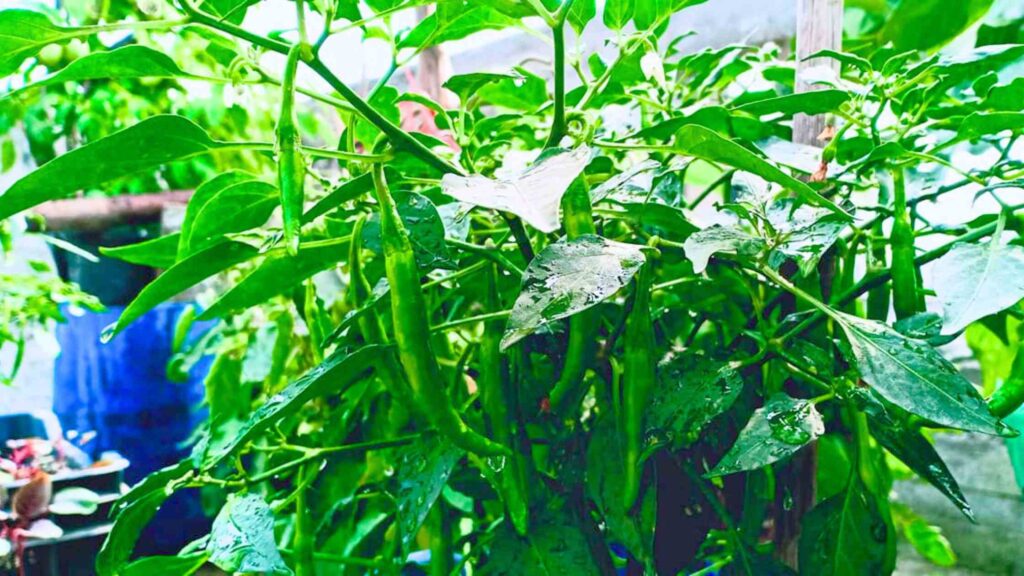
There are lots of vegetables that are super easy to grow in containers and Chillies are one of those. Moreover, in just 60-85 days your Chillies will become ready for harvesting. It can be grown twice a year. I am going to demonstrate all the information about how to plant chilli from seeds in pots step by step with an update from the sowing of seeds till harvesting. How to grow Chilli plants from store-bought seeds, as well as fresh seeds, extracted from Chillies? How to protect Chilli trees from leaf curl and other diseases and insects? At the end, I will discuss How to take care of Chilli to get more chillies?
Duration of Planting
Chilli grows best in summer and early winter, while some kinds are accessible all year round. Typically, the entire process takes 60-80 days, from seed planting to harvesting.
Planting Chilli from Seeds
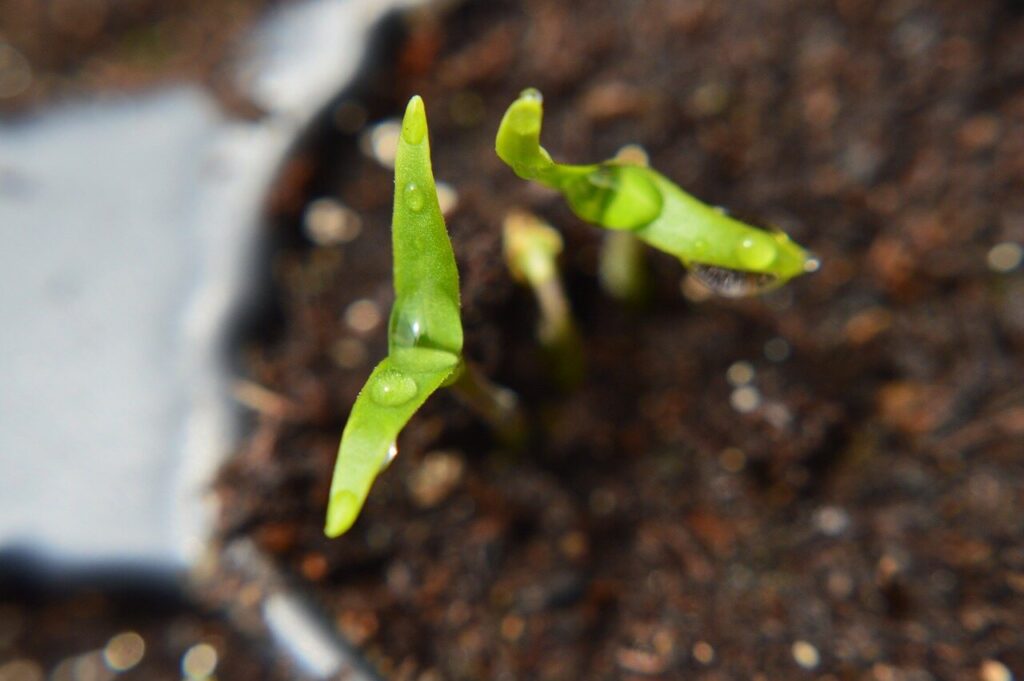
After 25 days, I transplanted multiple seedlings into a large container or pot to enhance pollination. Planting multiple plants in the same pot will improve pollination, reduce bud or flower drop, and result in 90 to 95% of the flowers converting into fruits or chilies. To transplant, I dug a small hole slightly larger than the root ball of the seedlings. For the potting mix, I combined 50% garden soil, 30% organic compost, and 20% cocopeat.
I firmed the soil around the root ball, maintaining a 6-7-inch gap between plants in the pot. Then I watered immediately after transplanting to avoid shock, then placed the pot in indirect sunlight for 2 to 3 days. I watered only when the topsoil felt dry to the touch.
Container and Soil Selection
For improved pollination, I moved many seedlings into a large pot or container after 25 days. Better pollination from many plants, I planted in the same pot has reduced the number of buds or flower drops. Consequently, 90–95% of the blossoms turned into fruits or chilies. For that, I used my hand to dig a little hole that was just a little bit bigger than the seedlings’ root balls. I used 50% garden soil, 30% organic compost, and 20% cocopeat to make the planting mix.
I compacted the soil surrounding the root ball and maintained a 6-7-inch space between plants in pots, and 1-2 feet between ground plant seedlings. By doing this action, the problem of buds or flower drops has been resolved, and the chilli plant will begin yielding an abundance of chillies.
Watering the Plants
Then I watered as soon as possible after transplanting to prevent shock. I kept the container in indirect sunlight for the next 2 to 3 days and watered it only until the topsoil felt completely dry.
Sunlight Location
Heat-loving plants and chillies thrive in locations with lots of sunlight. For optimal growth, I ensured the plant received 5 to 6 hours of sunlight each day. If you live in an arid region, provide moderate shade to prevent sunburn for your plants.
Pinching Point
After the seedlings reached a length of 8 to 10 inches, I pinched off the top portion. This action stimulates the plant to branch out, resulting in more chili production. Pinching stops the upward growth of the plant and encourages the formation of multiple branches directly below the point where the top was removed.
By simply clipping the top growth after 25 days, I encourage the plant to develop numerous side stems. More side stems mean a higher yield of chilies. By 30 days, the plants have become bushier and fuller, each sporting ten to twelve lateral stems. I ensured the container had adequate drainage by including holes in its base.
Fertilizing and Watering the Chillies
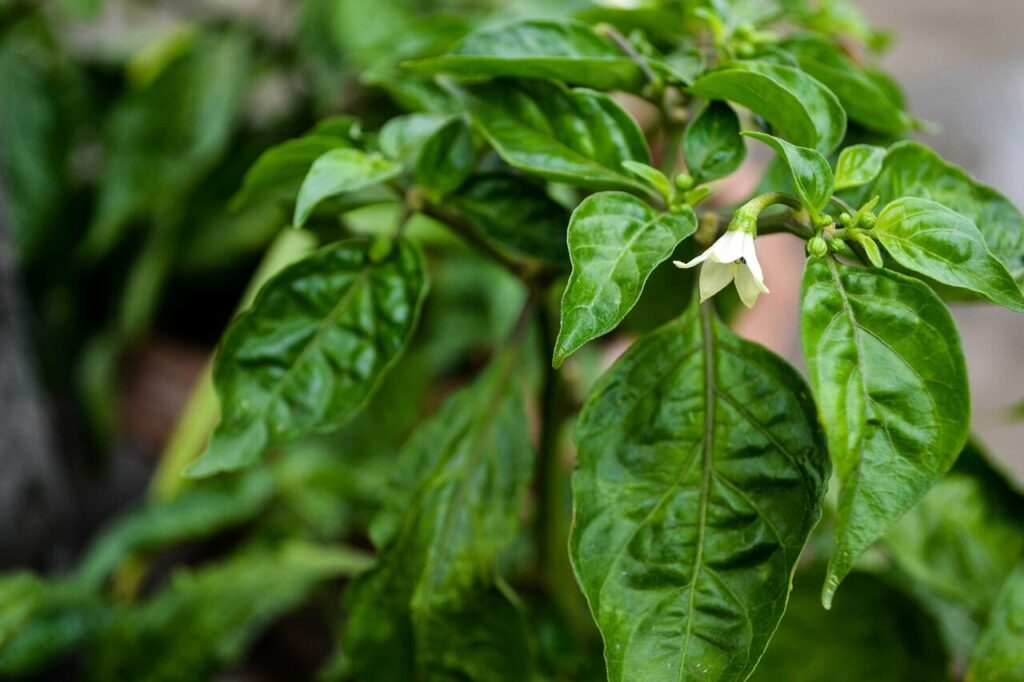
Chilli plants require ongoing care to develop a robust structure and eventually produce fruit. Regular feeding will cause their stems to elongate, leaves to turn green, and an abundance of blossoms to grow.
Continue feeding your chilli plants with organic compost, vermicompost, leaf compost, or decomposed cow dung every 15 to 18 days. I used organic manure wherever possible rather than synthetic fertilizers. I verified that the soil was moist but not drenched. Then I gave the plants space between watering for optimal results, and only watered them when the soil started to dry up.
After 42 days, I incorporated compost into the soil after every 18 to 20 days to keep the nutrient level high. Over watering can cause major problems and encourage fungus infection and disease and other problems such as flower drops so water only when the soil feels dry to the touch. I give water to the plant just enough to survive. And let the soil dry out between watering.
After 50 days, I provided organic compost or dung manure to the Chilli plant as it requires ample energy for flower and vegetable production. I have never used chemical or synthetic fertilizers in my garden because 100% organic vegetables have their unique taste and health benefits. For most of my plants, I applied homemade compost made from kitchen waste and achieved amazing results.
Pollination of Chillies
After 28 days, chilli plants have been pollinated by bees, but they are also self-pollinating. A gentle shake of the flowers can help to ensure the fruit setting. Planting multiple chili plants together in the same pot enhances chili production and reduces bud drop. I removed unwanted plants from the container as they compete for space and essential nutrients in the soil. If you’ve grown chili plants in small pots, grouping them promotes better pollination.
Harvesting Period
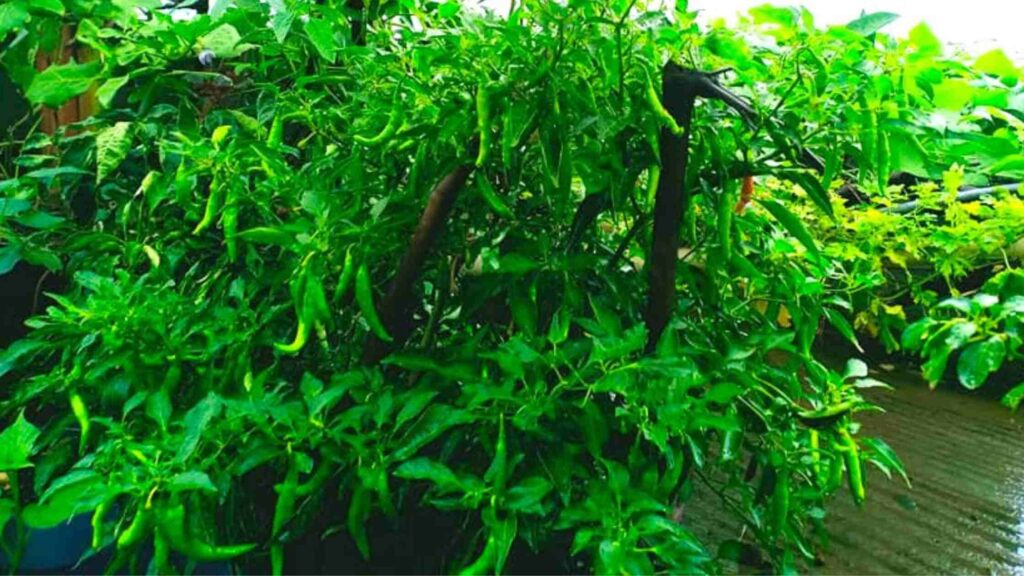
By 55 days, a single chili plant has been yielding more than 100 chilies. With just a few plants, you can become self-sufficient in chilies. At 70 days, chilies begin to change color as they mature. Both unripe and ripe chilies have been harvested according to my needs. By 85 days, chili plants are perennials and tend to be more productive in their second year than in their first. Perennial plants live for more than 2 years.
Chillies Diseases and Pests Management
The most common pests that attack Chillies include aphids, spider mites, and whiteflies. To control these pests, it’s advisable to regularly spray Chilli plants starting from the seeding stage with a solution of 5 ml of neem oil mixed with 1 liter of water every 15 days. I applied the neem oil solution to affected plants to prevent whiteflies in the early stages. Baby fruits are susceptible to fruit flies, which lay eggs inside them, leading to larvae that spoil the fruit from within. It was protecting the fruits by making small holes in polybags or using cotton bags to cover them. Additionally, pheromone traps can be used to safeguard Chilli plants from fruit flies.
Aphids, mealybugs, and white flies are common insects that affect chilli plants. To prevent this, vigorously I sprayed the plant twice a month with a mixture of five milliliters of neem oil and one liter of water. As soon as the new leaves appear, they too begin to shrink and turn. They’re not big. This is caused by the dam’s white flies and thrips, which are tiny insects. They are the bearers of the virus known as leaf curl, which attaches itself to newly sprouting leaves and causes them to believe that everyone is blind. Cut off and destroy the leaves and fruits.

