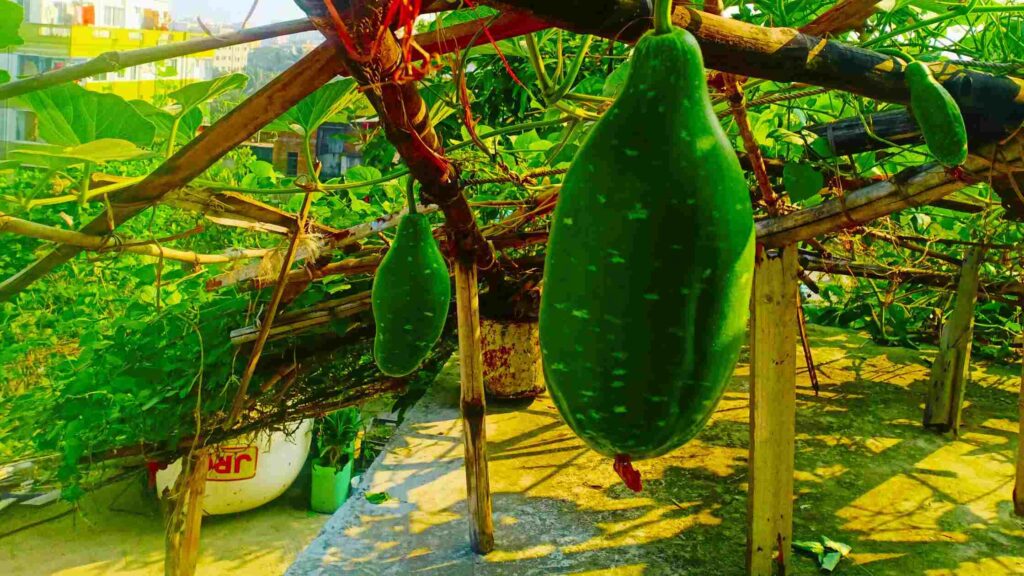
Many vegetables are super easy to grow in containers, and bottle gourds are one of them. Moreover, in just three months, your bottle gourds will be ready for harvesting. They can be grown twice a year. I will provide all the information about how to grow bottle gourd in pots step by step, with updates from sowing seeds to harvesting. How is the soil prepared for bottled gourd vegetables? What type and How much fertilizer should be given to them? How can you protect bottle-gourd plants from leaf curl and other diseases and insects? How do you take care of bottle gourds to get more vegetables?
Growing Bottle Gourd Vegetables from Seeds
The optimal times for growing bottle gourds are from summer to monsoon, with some varieties available year-round. The entire process, from seed planting to vegetable growing, typically extends 90-100 days.
To grow bottle gourd vegetables from seeds, I started by selecting a good variety of indigenous bottle gourd from an online store or local agriculture store. To grow healthy seedlings, I always buy high-quality seeds and check for dates to ensure they are not expired.
The simplest way to grow bottle gourds is to plant the seeds directly into the ground. As soon as the weather gets warmer, you should plant them. The sprouts have 5 to 8 days to sprout. Soak the seeds in water for the entire night before sowing to get faster seed germination. Bottle gourds prefer lots of moisture. When needed, add water to the soil every day to keep it moist. Give extra water to keep the soil moist when the weather was hot or dry.
Container Selection
If you’re cultivating a Bottle gourd in a large container, it’s essential to select the favorable size for getting optimal vegetables. Usually, a half barrel will work great. I have selected a container measuring at least 22-24 inches wide and 18-24 inches deep. Growing a Bottle gourd tree in a small pot stunts its growth, resulting in a thin stem and no vegetable production. Alternatively, consider using a grow bag sized 24’’ * 24’’ or repurpose an old drum for planting. I have been cultivating a Bottle gourd in a half-drum container that’s 24 inches wide.
Soil Preparation
Sandy loam soil is ideal for bottle gourd growth. To guarantee premium crops, I used well-draining, nutrient-rich soil. I put in some organic manure to improve the soil. The perfect blend is composed of 50% garden soil, 40% organic compost, and 10% cocopeat. I added one teaspoon of powdered Trichoderma as an additional natural antifungal. I filled the container with the prepared soil, making sure to leave a 1-2-inch space between the soil and the pot’s rim for efficient watering.
Planting the Seeds
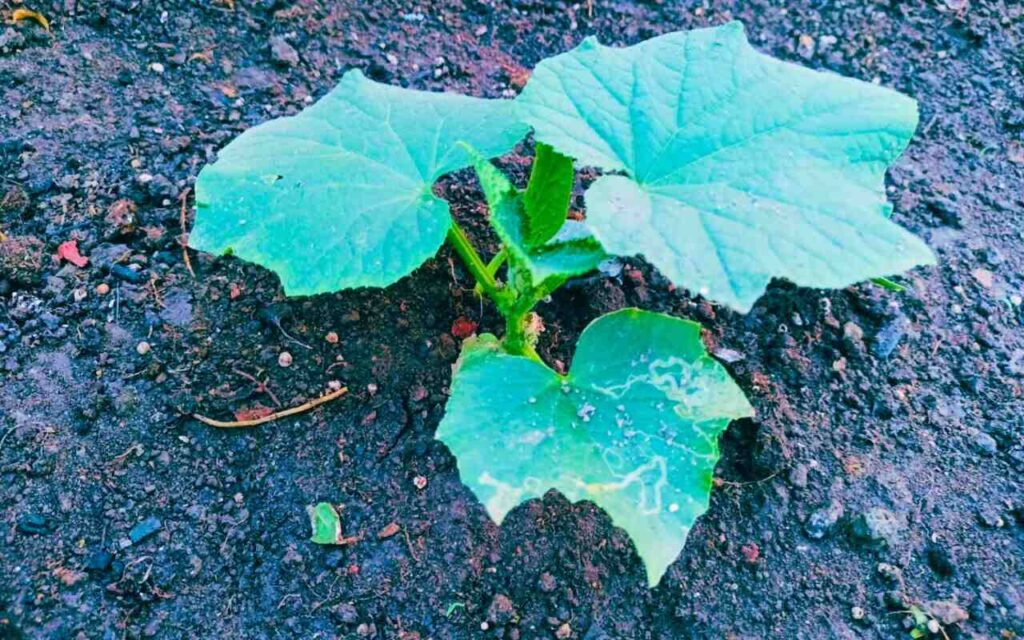
I made 1(one) inch deep holes in the soil mix and put 1(one) seed per hole. In a 20-24-inch diameter container you can easily plant 4-5 seeds. If you are planting multiple seeds, space them 6-8 inches apart so the vines have room to spread out. I covered the seeds with the soil and patted them properly. I watered the sown seed bed immediately with a light shower with a watering can. Whatever container you use, make sure they have small holes at the bottom to release any extra water. However, those small holes must be covered with small stones to prevent the soil from draining away as well.
The first seed will emerge above cotyledons at the end of the second week. After every 12-15 days, I dug the upper layer of the soil to keep it soft. This makes soil porous and it holds enough air and water to sustain healthy growth. Bottle gourds thrive in warm and right spots since it helps them develop large leaves and vines. I find my garden that gets sunlight for 5-7 hours to keep them healthy.
Proper watering during the growing period encourages plant flowers and fruit. If not watered well, the plant will have weak produce. I picked my gourd about 2-3 days after the fruit had stopped growing. However, the fruit was left to dry on the vine for harvesting seeds and using the fibrous part called loofah as a natural scrubber. After 50–60 days of seed sowing, the harvesting season started and lasted for roughly 6–8 weeks.
Support the Plants by Making Strong Trellis
To ensure robust growth, I built a strong trellis for bottle gourds using locally available materials such as ropes, bamboo, and wires. The bottle gourd is a vigorous climber that requires ample space, and without adequate support, the yield may be reduced. As the plant grew, I wrapped the tendrils around the trellis to guide its growth.
Vertical growth controls the plant’s spread, saves garden space, and keeps the fruits clean. Typically, each plant can produce 3-5 gourds, but planting multiple gourds in a single container can reduce productivity. The plant can grow over 15 feet tall, so solid support is essential for its tendrils to climb effectively.
Fertilizing and Watering the Bottle Gourds
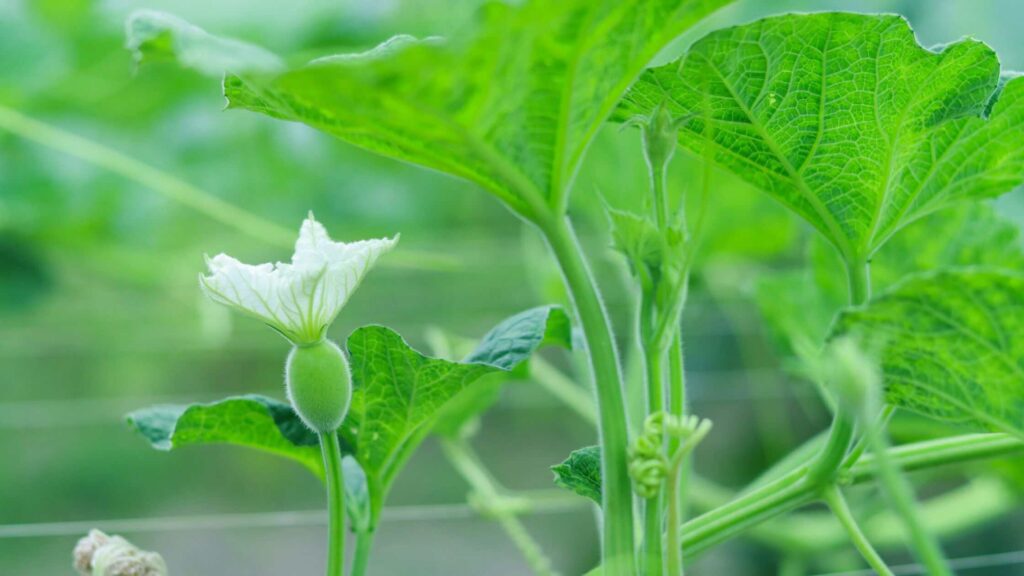
All gourds are heavy feeders, and bottle gourds are no exception. If you’re growing bottle gourds in a container, regular fertilization and watering are essential. Using organic manure is recommended, eliminating the need for chemical fertilizers. When the plant vines reached 12 to 18 inches in length, I provided each plant with 2-3 handfuls of organic compost or cattle dung manure. This is crucial as the plants require ample energy for flower and vegetable production. Additionally, using mustard cake fertilizer will provide better nutrition and support optimal growth for your bottle-gourd plants.
Immediately I watered the soil then the fertilizer was soaked in hand and absorbed by the roots. When vines grew bottom, leaves were turned yellow and I removed them from the plants. Removing the old leaves will let the plants focus their nutrients on healthy leaves. My plant started flowering within 25-35 days of planting. Bottle gourds produced white male and female flowers. The female and male flowers look similar. However, the female flowers have a small fruit at the base of the petal. At this stage, pollination is very important for producing better fruits.
Pollination of Bottle Gourd Plants
After 30 days, Bottle gourd flowers need pollination for better fruit. If you can plant aromatic flowering plants in your rooftop garden, many pollinators like bees and butterflies will come, and they will pollinate vegetable plants. Through this pollination, I have obtained a lot of vegetables in my rooftop garden. In the case of Bottle gourd plants, it is a better practice for hand pollination.
For the hand-pollination of bottle gourds, I started by removing the male flowers along with their petals. Then, I carefully brushed the stigma at the center of the female flower. Gourd flowers typically bloom at night and remain open for just one night, making dusk the optimal time for hand-pollination when the flowers are fully open. Pollination involves transferring pollen from the male flower’s anther to the female flower’s stigma. Generally, one male flower can pollinate 2 or 3 female flowers, though using one male flower per female flower is preferable if enough male flowers are available.
Harvesting Period
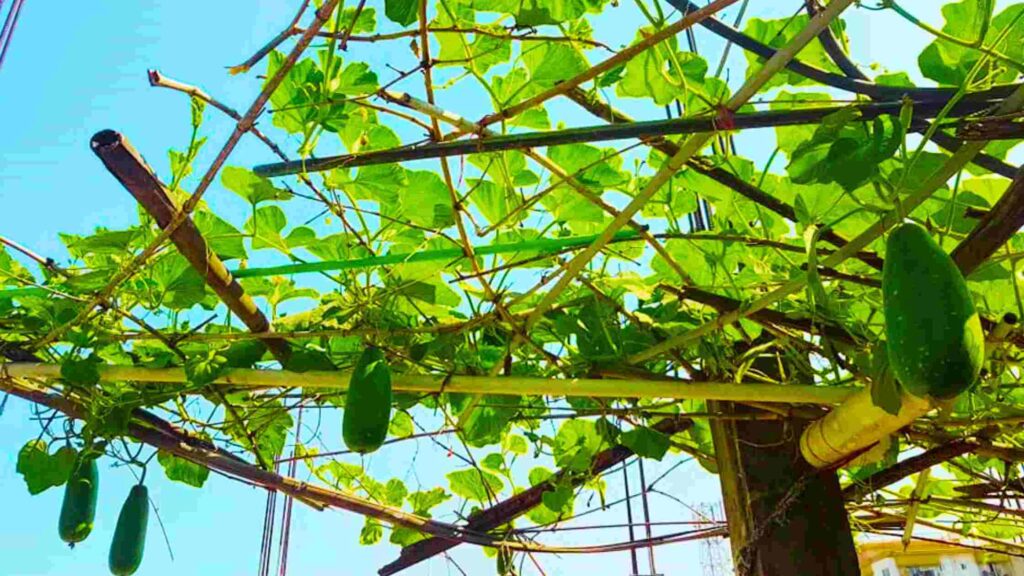
Bottle gourds grow rapidly even when I cultivate them in pots. After pollination, they were ready to be harvested in approximately 12-15 days. A healthy bottle gourd plant requires consistent watering to prevent the soil from drying out. You can harvest your gourd about 2-3 days after the fruit stops growing. Alternatively, you can leave the fruit to dry on the vine for harvesting seeds and use the fibrous part, known as loofah, as a natural scrubber.
The harvesting season typically begins 50-60 days after seed sowing and continues for about 6-8 weeks. Since bottle gourd is an annual plant, you need to grow a new plant each year.
Bottle Gourd Diseases and Pests Management
Juice-sucking insects like aphids, thrips, and spider mites can infest bottle-gourd plants. It is recommended to report the bottled gourd plants with a solution of 5ml neem oil to 1 liter of water regularly, beginning at the seed stage, to ward off these pests. Repeat this application every 7-8 days to protect the plants from insects. For early prevention against whiteflies, spray the solution on the affected plants. Additionally, using pheromone traps can help protect your bottle gourd plants from fruit flies.

