I’ll walk you through every stage of growing brinjal in pots in this guide, from planting to harvesting. You will discover how to grow brinjal in a roof garden to cultivate brinjal plants from store-purchased seedlings, prepare the soil, select and use the proper nutrients, and keep pests, illnesses, and leaf curl at bay. I’ll also include maintenance instructions for your brinjal plants so you can get the most out of their veggie production.
Growing Brinjal from Plants
The entire process, from seed planting to vegetable growing, typically extends 100-120 days. Brinjal is ready for harvesting 70–80 days after planting in the winter and 100–110 days after planting in the summer.
Most of the brinjal I bought from the store comes from farmers who use synthetic fertilizers and poisonous pesticides repeatedly. You should buy the best quality seeds for the best results. To grow healthy seedlings, always buy high-quality seeds and check that they are not expired.
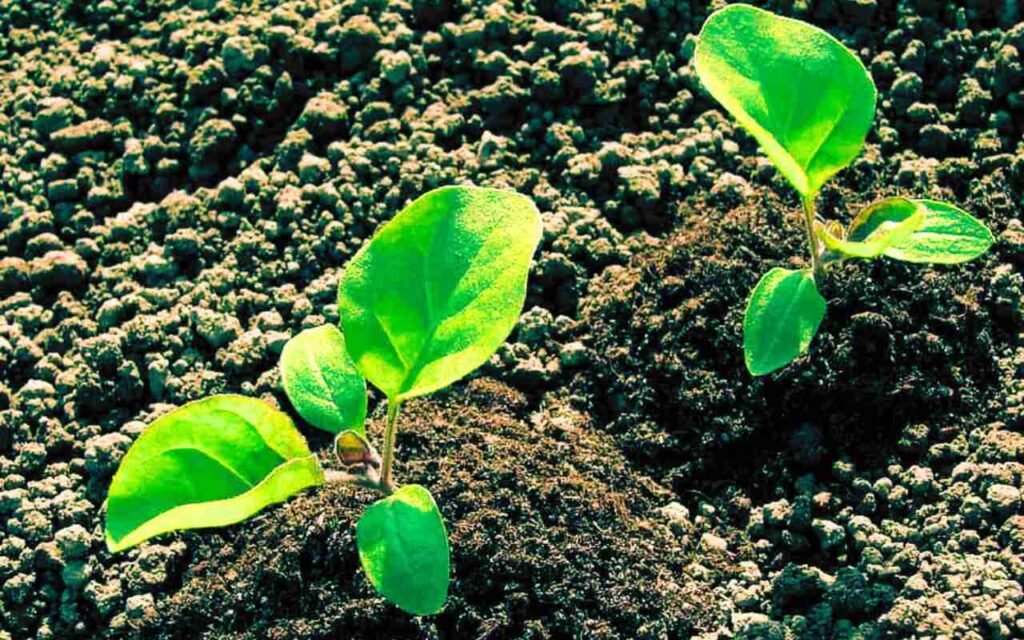
To grow brinjal from seeds, I started by selecting a good variety of indigenous brinjal from an online store or local agriculture store. I have started the seeds I bought from an agriculture store in a seedling tray or small grow bag instead of sowing directly in a large container. Here I have used a small grow bag. This will encourage dense root growth in seedlings and result in healthier plants.
Potting Mix
Instead of sowing seeds directly in the container, I used a seedling mix which is 50% vermicompost/kitchen compost/cow dung manure along with 50% cocopeat. One more thing that I usually mix in the seedling mixture is Trichoderma. Trichoderma viride is a beneficial fungus that makes the root system strong and healthy. This organic natural fungicide protects roots from fungal diseases in the seedling stage and helps form a healthy root system. Trichoderma is also mixed with organic compost and given to plants to protect them from fungal infection. Trichoderma is easily available in agriculture stores and online stores. I suggest mixing half a teaspoon of Trichoderma powder into the seedling mix and making the mixture moist. I filled the seedling tray or small grow bags with the prepared mix to facilitate faster plant growth. The seedlings stayed in this small bag for a month after planting.
Then I covered the seeds with the mixture and kept the tray in the shade until germination. Then I planted the seeds in the mixture by making half-inch-deep holes in the soil, then watered them lightly. I subsequently watered the soil feels dry to the touch. I put the tray in a bright location away from direct sunlight. Most germination failures happen due to overwatering, so water only to keep the seedling mix moist, not soggy.
I placed the seedlings in an area receiving sunlight for two to three hours in the morning. By day 30, the seedling will have grown bigger. The plant is then ready to be transplanted into the final container.
Container Selection
If you’re cultivating Brinjal in a large container, it’s essential to select the favorable size for getting the optimal vegetable. I chose a container measuring at least 24 inches wide and 18-24 inches deep. Growing a Brinjal tree in a small pot stunts its growth, resulting in a thin stem and no vegetable production. Alternatively, I selected a container that is 16–20 inches broad, and 20–25 inches deep, or repurpose an old drum for planting. I have cultivated Brinjal 16 inches broad, and 20 inches deep, or repurposed an old drum for planting. I ensured the container must have some holes for proper drainage.
Soil Preparation
Hard and clay soil becomes compacted in pots, leading to suffocation and poor root growth. In such conditions, plants cannot grow properly. Brinjal plants need rich, well-drained potting soil to thrive. To create this soil, I combined 50% garden soil, 30% organic compost, and 20% cocopeat or sand. Additionally, added 2 handfuls of neem cake powder as a natural fungicide. Once the soil was prepared, I filled the container, leaving a 1-2-inch gap between the soil and the pot’s rim for effective watering.
With caution, I removed the plant from its packet, taking care to observe its established root system. I placed the young brinjal plants in the chosen container and watered them thoroughly. Brinjal plants need at least seven to eight hours of sunlight daily to thrive. I moved them into full sun after keeping them in the shade for 4 to 5 days. Once a week, alternate between applying fungicides and insecticides.
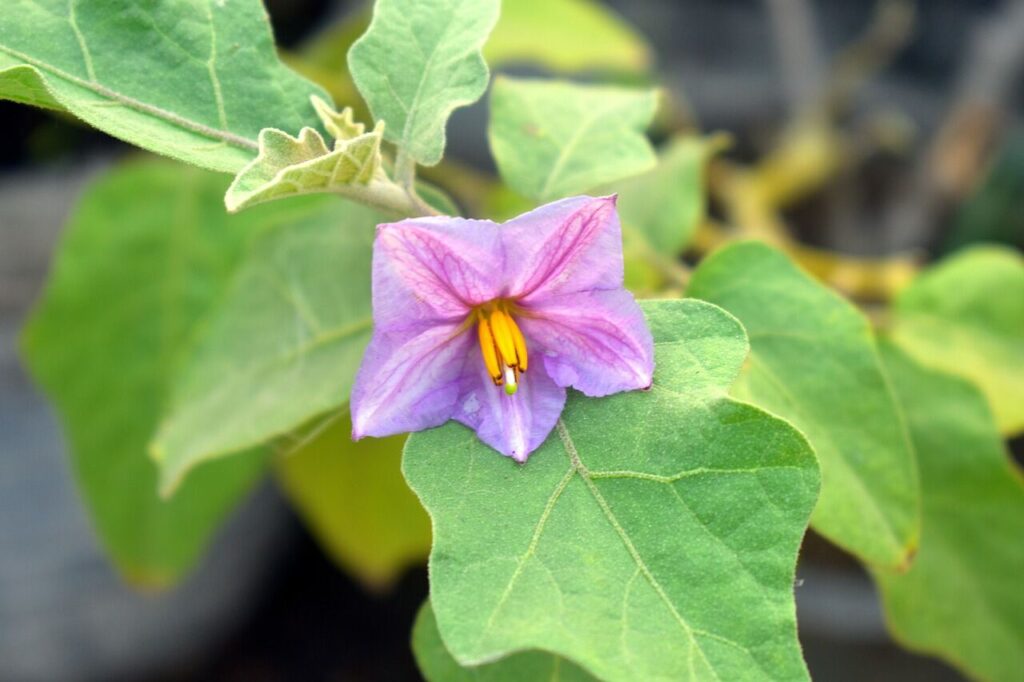
After 30 days, I cut the growing tip of the plant to encourage more side branches, making the plant bushier. More branches mean more brinjal. After 50 days, the plants have become bushy and started flowering. By 60 days, the brinjal plant were in full fruiting phase, with tiny green brinjals already forming. Brinjal is self-fertile, meaning each flower can pollinate itself because both male and female organs are within the same flower.
Fertilizing and Watering the Brinjal
After 60 days, it was crucial to provide organic compost or dung manure to the brinjal plant as it requires ample energy for flower and vegetable production. Eggplants are heavy feeders, so the feeder roots quickly emerge near the soil surface. During the fruiting stage, I watered the container only when the soil felt dry to the touch to prevent fruit drop caused by overwatering.
For cultivating brinjal in containers, regular fertilization and watering are essential for proper growth. Organic manure is recommended, avoiding the use of chemical fertilizers. After transplanting into a container, I watered the plant twice a day initially. Every 15 days thereafter, I added two handfuls of well-rotted cow dung compost, vermicompost, or homemade compost. The mixed fertilizer should be applied once a month. I have never used chemical or synthetic fertilizers in my garden. Instead, I used liquid organic compost fertilizer twice a month because 100% organic vegetables have their unique taste and health benefits.
I applied homemade compost made from kitchen waste to most of my plants and achieved amazing results. Once a month, I used a plant growth regulator (PGR) and micronutrient vitamins at a ratio of 2ml per liter of water. Additionally, I applied NPK 10-26-26 fertilizer once a month, using 8-10 granules to promote robust growth. To encourage bushiness, I pruned the tip of the seedlings when they reached a height of 1 foot. By 70 days, most of the brinjal flowers had developed into green brinjal fruits, and the branches had grown quite long.
Harvesting Period
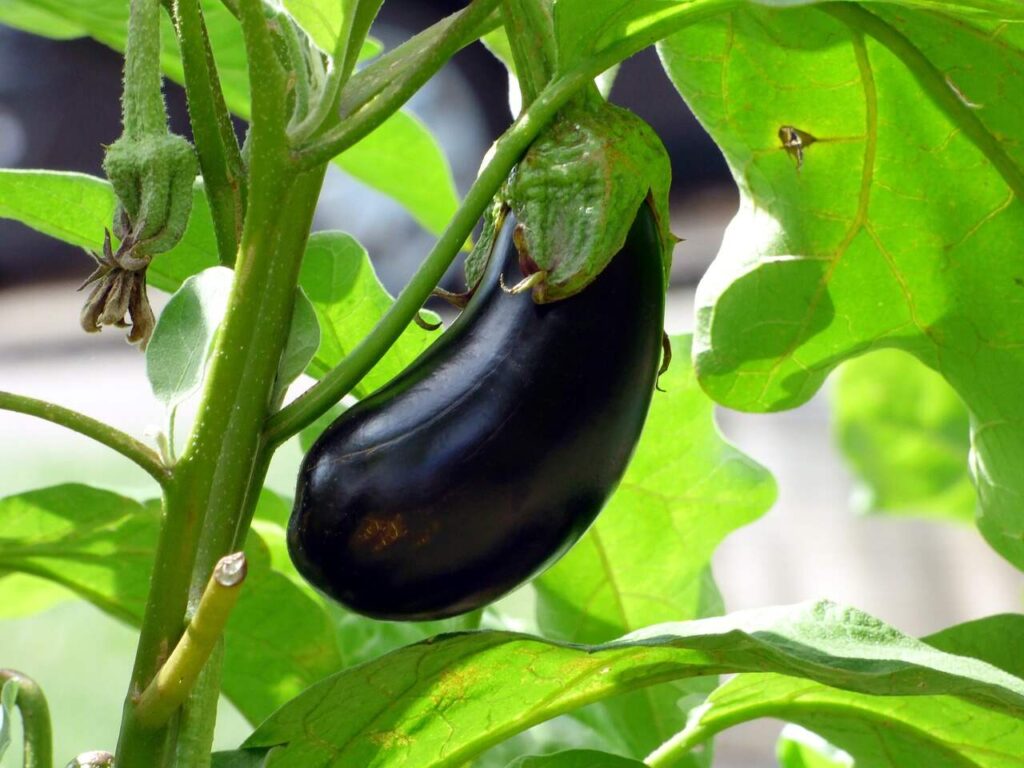
By 80 days, the brinjals had matured sufficiently to harvest. In general, eggplants can bear fruit for about two years. After that, the plant usually dies, but I have extended their productivity by pruning dried stalks, allowing continued vegetable production even after three years.
Brinjal Diseases and Pests Management
The most common pests affecting brinjal include aphids, spider mites, and powdery mildew. To control these pests, it is recommended to regularly spray the brinjal plants, starting from the seeding stage, with a solution of 5ml neem oil mixed in 1 liter of water every 15 days. To prevent whiteflies in the early stages, apply this solution to infested plants.
Young fruits are often targeted by fruit flies, which lay eggs inside the fruit; later, the larvae spoil the fruit from within. To protect against fruit flies, create small holes in polybags or use cotton bags to cover the fruits. Another effective method is using pheromone traps to safeguard your brinjal plants from fruit flies.
Some Important Tips to Care for Brinjal Plants
- Medium watering is preferred for brinjal. Overwatering causes root rot, which causes fruit to fall off the plant and eventually kill it. Thus, water the soil immediately once it’s ready to be touched. So, wait to water the soil until it’s ready to touch.
- In addition to being heavy feeders, brinjal plants are short-soaring. Fertilize occasionally for the greatest results in a container. Every fifteen days following the transplant, sprinkle some well-rotted cow dung or organic compost on the area.
- Due to their high light requirements, brinjal vines should be planted in an area that receives six to eight hours of sunlight every day.

