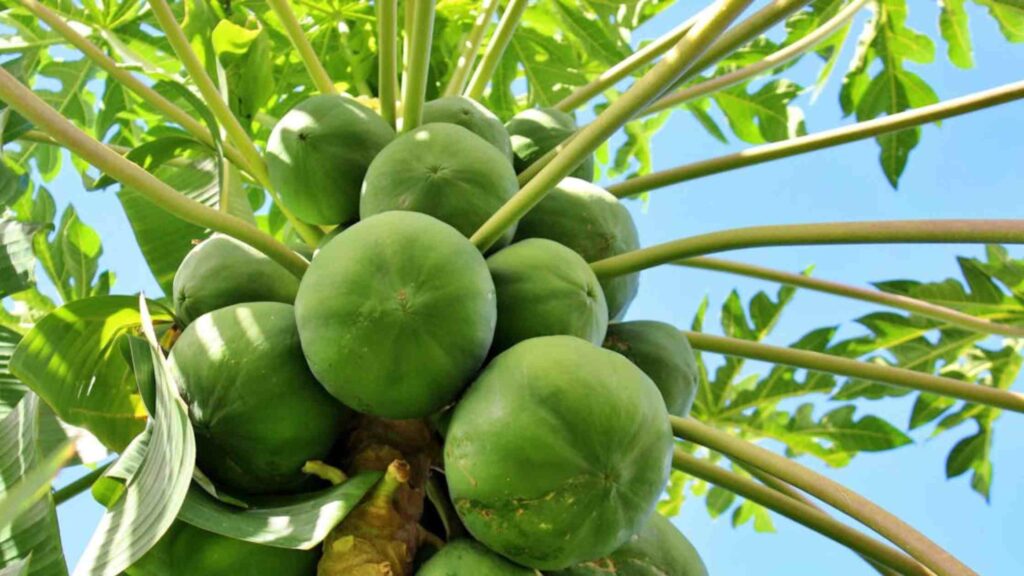
I am going to provide all the information about how to grow papaya tree in pots step by step with an update of one year from the sowing of seeds till harvesting. How is the soil prepared for papaya? Which fertilizer and How much has to be given to it? How to protect papaya trees from leaf curl and other diseases and insects? How to take care of papaya trees for getting good fruit. Also, I will tell you what to do if your papaya tree is not producing fruits. I will demonstrate the secret trick of professional papaya growers so that your plant becomes a female plant.
Growing Papaya Tree from Seeds
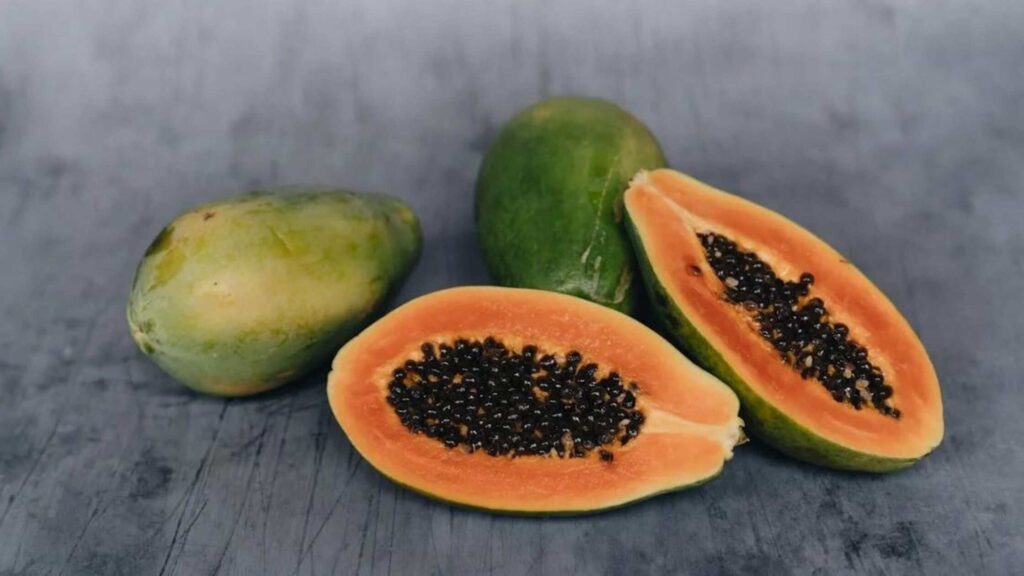
You can grow papaya plants by obtaining papaya seeds from an agriculture store, acquiring hybrid small plants from a nursery, or by extracting seeds from fresh papaya fruit. Papaya thrives in temperatures ranging from 10 to 20 degrees Celsius and being a tropical tree, it can be cultivated year-round, with the optimal times for growth being February-March and October-November. The entire process, from seed planting to fruit ripening, typically spans 8-12 months.
To grow a papaya tree from seeds, I started by selecting various indigenous papaya. I extracted the seeds from the papaya fruit and then allowed them to dry in a shaded area for two days before planting. Then I created a germination mix consisting of 50% garden soil and 50% cocopeat, slightly moistening it. I filled a seedling tray or small grow bags with the prepared mix to facilitate faster plant growth. Then I planted the seeds in the mix by making half-inch-deep holes in the soil, then watered them lightly. Subsequent watering should be done only when the soil feels dry to the touch.
I placed the seedlings in an area receiving sunlight for two to three hours in the morning. After about 16 days, the seeds have been germinated, and the plant began to develop two or three leaves. I maintained the seedlings in a shaded area. By day 28, the plant reached a height of approximately 8-9 inches and exhibited robust growth.
Taproot Cutting
In some instances, papaya trees may produce flowers that subsequently fall off, resulting in no fruit formation. Alternatively, some trees may continue to grow without ever flowering, only producing leaves. If you encounter this issue with your papaya tree, it likely indicates that it is a male tree, incapable of bearing fruit. To ensure fruiting production, one can perform taproot cutting on the papaya tree at the seeding stage. This method guarantees fruit formation and helps control the tree’s height.
Then, I took the plant out of the soil in such a way that its delicate root was not damaged. This thick and long root is the taproot, which I have to cut. I disinfected the scissors tool and then cut this taproot. I applied anti-fungal powder below the cutting root. By doing this, the roots around the plant have been grown faster, and the faster the roots will grow, the healthier our plant will grow, and it will be guaranteed that the papaya plant will become a female plant, which will produce early fruits. I did this process early in the morning or the evening. Even if there is a little root damage, it doesn’t matter because papaya is a very hardy plant and recovers in a few days.
Then, I put it back and gave water to it. After keeping it in the shade for a few days, I moved it into the sun. I observed the result after 45 days. The stem of the plant has become thick, and it has grown to 1-2 feet in height. I have seen that the soil is dry because papaya doesn’t like overwatering. Now, I have to transfer it to a bigger container.
Container Selection
If you’re cultivating papaya in a container, it’s essential to select the largest available size for optimal fruiting. A container measuring at least 24 inches wide and 18 inches deep is necessary. Growing a papaya tree in a small pot stunts its growth, resulting in a thin stem and no fruit production. Alternatively, consider using a grow bag sized 24’’ * 24’’ or repurpose an old drum for planting. I’m cultivating papaya in a half-drum container that’s 24 inches wide.
Soil Preparation
You will need soil that drains well and is rich in nutrients. I have created such soil, combining 50% garden soil, 30% compost, and 20% sand. Additionally, I added 2 handfuls of neem cake powder acts as a natural antifungal. Once the soil is prepared, fill the container.
Then, I carefully removed the plant from its packet, observing its developed root system. Loosen the roots by removing some soil without disturbing the root ball. I transplanted it into the container and watered it thoroughly. After two to three days in the shade, I placed it in full sunlight as papaya trees require at least 8 to 10 hours of sunlight to thrive. Growing in shade will only result in leaf growth without fruit production.
After three months, significant growth was observed with the plant reaching around 3 to 4 feet in height and thickening. Small flowers were also visible. However, at this stage, the plant is unlikely to bear fruit, as these flowers will fall off naturally.
Fertilizing and Watering the Papayas
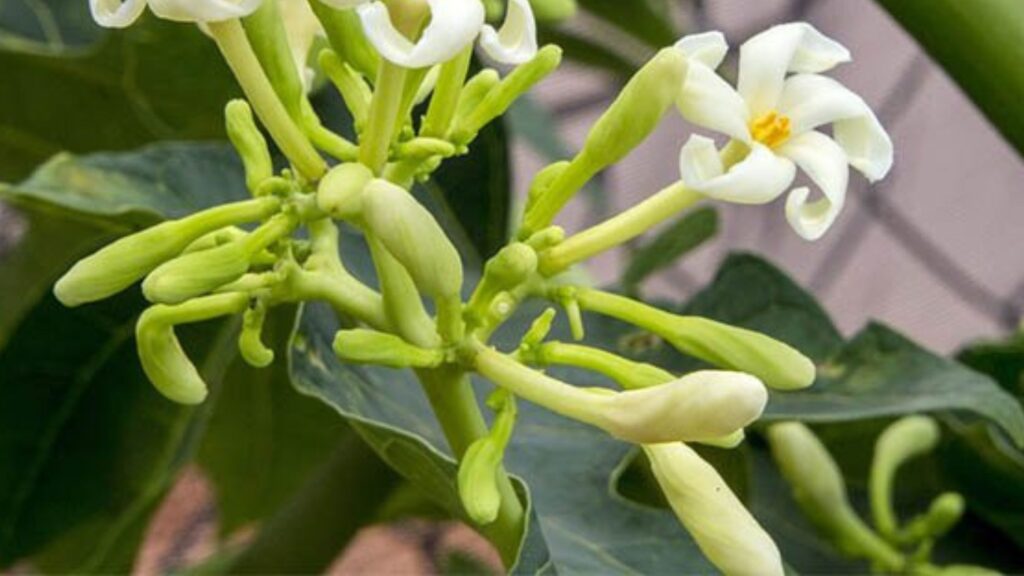
If you’re cultivating papaya plants in a container, regular fertilization is essential for proper growth. Organic manure is recommended, eliminating the need for chemical fertilizers. Once a month, after lightly loosening the topsoil, I added about 4-5 handfuls of well-rotted cow dung to a container of appropriate size and mixed it into the soil. While papaya trees in the ground absorb micronutrients from the soil, potted plants may require supplementation. To address any micronutrient deficiencies, I add 2 spoonfuls of seaweed extract granules or biozyme granules to the soil once a month and mix well. For optimal growth, I diluted 10ml of seaweed extract liquid in 1 liter of water, sprayed it over the entire 3, and applied the same liquid to the soil around the roots.
After 6 months, significant growth was observed in the papaya trees. The stems have thickened, and large leaves have emerged. Flowering has also commenced. Once flowering begins, it’s crucial to provide organic compost or dung manure to the papaya tree as it requires ample energy for flower and fruit production. When the papaya tree was in the flowering stage, I watered the container only when the soil felt dry to the touch to avoid flower drops caused by overwatering. Distinguishing between male and female flowers is straightforward during this stage: male flowers are slender and elongated, whereas female flowers have a small fruit forming underneath.
Pollination of Papaya Fruit Plants
If you can plant aromatic flowering plants in your rooftop garden, many pollinators like bees and butterflies will come, and they will pollinate fruit plants. Through this pollination, I have obtained a lot of fruits in my rooftop garden. Female flowers can dry and may fall on their own. Due to a lack of pollination, female flowers cannot convert into fruit and fall prematurely. In this case, you can apply hand pollination.
Hand Pollination
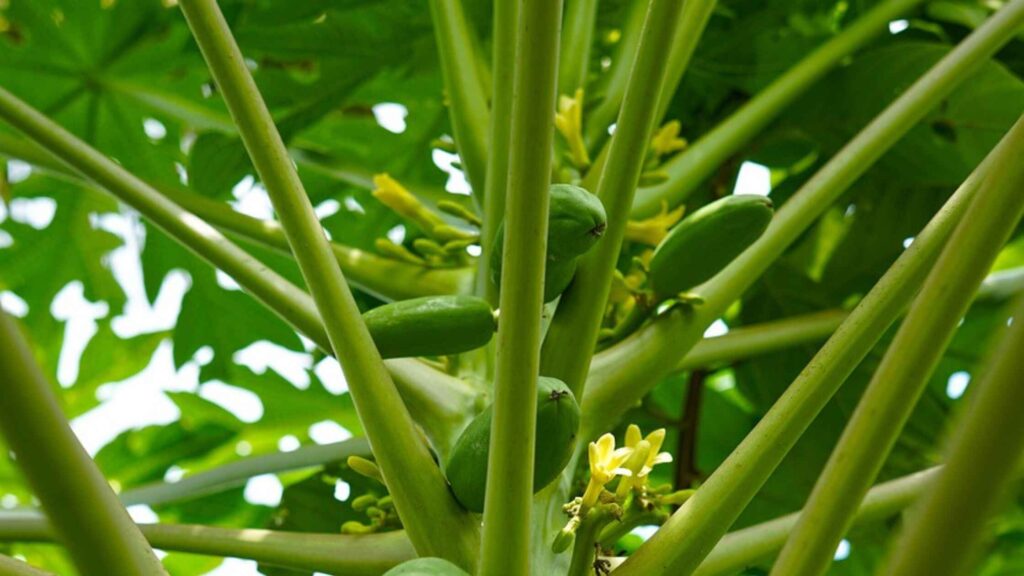
For hand pollination, I took a paintbrush. I inserted the paintbrush inside the male flower and rotated it gently. This can transfer the pollen onto the brush. Then, I placed the brush in the center of the female flower, collected the pollen, and transferred it inside the female flower. This type of hand pollination makes it certain to turn a flower into a fruit.
After 10 days of hand pollination, female flowers have converted into fruits. It took around 3 to 4 months for them to fully grow and ripen, depending on the growing conditions and the season. If the weather is cold, the fruit will ripen slowly, and if it is hot, the fruit will ripen quickly. After 7 months, the papayas have started growing. The tree has grown to 7 feet tall, and the next batch has started flowering near its canopy above. I have witnessed tremendous growth in its canopy with regular fertilization and proper care.
Maturity Stage
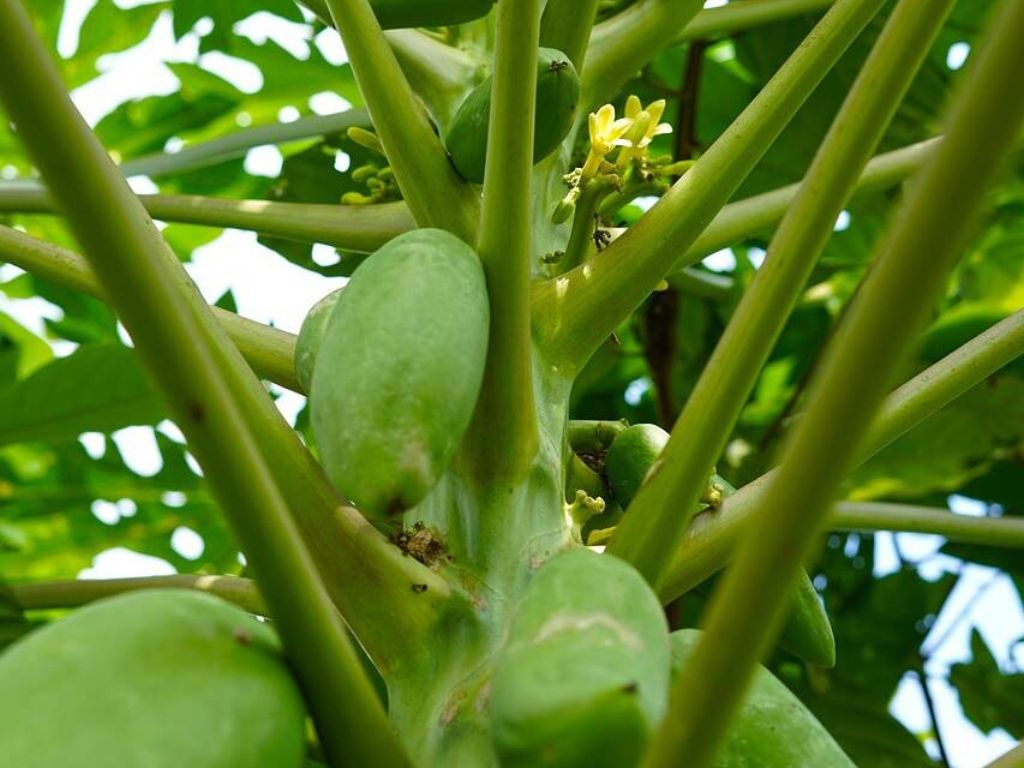
It has been 9 months since the papaya was grown from the seed. The tree has reached a height of eight feet. The fruit has ripened and is ready to be harvested. At the top of the canopy, small fruits of the next batch have started to form. These will also be ready for harvesting in the next 4 or 5 months. If I had grown it on the ground, it would have produced dozens of fruits by this time. However, we should not expect the same fruit yield when grown in a container.
I had grown seeds of an indigenous variety. If you grow hybrid varieties obtained from the nursery, you are guaranteed to get a lot of fruits even in a pot. Papaya hybrid plants are readily available in nurseries near you. When the papaya has started to turn yellow, you can harvest it and keep it wrapped in newspaper for 1 day or 2 until it ripens completely. So, let us now harvest the papaya.
The raw fruits of banana, mango, and papaya found in the market are ripened in 1 day with carbide chemicals. Moreover, huge amounts of toxic pesticides and chemical fertilizers are used to grow them. Such fruits can be harmful to health. However, these rooftop garden papayas ripen on the tree itself, making them very tasty and sweet. Let’s taste it.
Papaya Diseases and Pests Management
Papaya plants are susceptible to infestation by juice-sucking insects like spider mites, aphids, and thrips. To ward off these pests, it’s recommended to spray the papaya plant regularly, starting from the seeding stage, with a solution of 5ml neem oil mixed with 1 liter of water every 15 days. I paid particular attention to spraying the underside of the leaves and areas between the canopy where insects often conceal themselves.
One of the most common diseases affecting papaya plants is the papaya leaf curl virus, also known as papaya torsion disease. Plants infected with this virus exhibit symptoms such as inward-turning and shrinking leaves, as well as deformed, twisted, and small new leaves, leading to stunted growth. This disease is transmitted by whiteflies, which act as carriers of the leaf curl virus. To prevent whiteflies in the early stages, mix 1ml of dimethoate in 1 liter of water and spray it on the infested plant.

