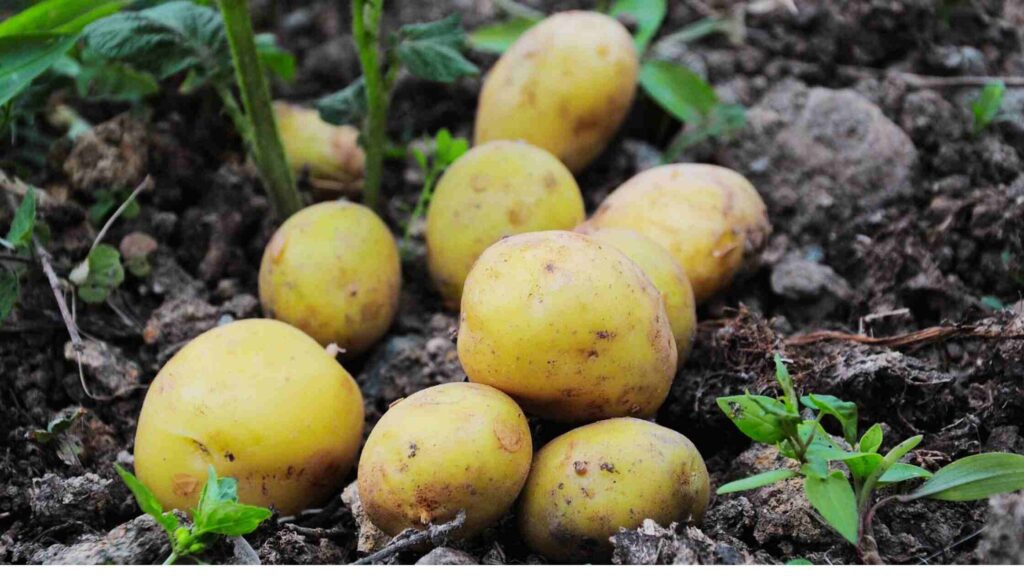
Using potato seeds with an eye toward quality management to guarantee an improved outcome. You may readily find potato seeds at your neighborhood garden center or local nurseries. Alternatively, the eyes will begin to sprout if you put some organic potatoes in a brown paper bag for a few days. Then proceed with the planting instructions. Learn how to grow potatoes at home with simple tips on planting, soil preparation, watering, and harvesting crops from your roof garden.
Duration of Planting
To achieve the best results, the ideal time to plant potatoes is in early spring, about two to three weeks before your last frost date.
Container Selection
Potatoes can be planted in a container of your choice or 20–25-inch diameter poly bags 18–20 inches deep. I ensured my container had bottom drainage holes to avoid waterlogging, regardless of the type. Mix 60% garden soil and 40% compost or manure; potatoes like light, nutrient-rich soil.
I started to fill my pot with 5 to 6 inches of the growing medium, ensuring the entire bottom was covered. Lightly press down the soil with your hands to firm it up. Various containers such as poly bags, plastic containers, garbage cans, nursery containers, or even stacks of tires can be used to grow potatoes.
I planted 4 to 5 potato seeds in a 20 to 25-inch diameter poly bag. And I ensured potato seeds were not touching each other or the edge of the pot. I Avoided overcrowding by planting only the recommended amount of seed potatoes. Then I placed the potato seeds in the soil with the eyes facing upward, spacing them at least 6 to 7 inches apart.
Sunlight Location

I covered my potato seeds with 3 to 4 inches of potting soil mix after I had planted them. Though they thrive in damp soil, potatoes can become overly wet and encourage the spread of fungi. My potato container was placed in an area that gets 6 to 8 hours of direct sunlight every day.
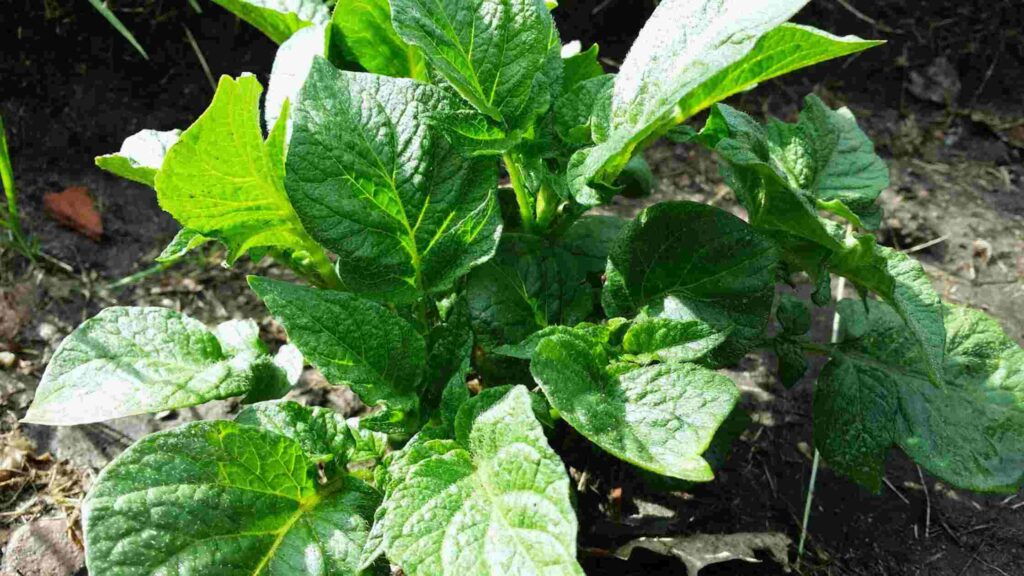
In approximately 6 to 7 days, new shoots will start to appear. Keep the soil evenly moist, especially from the moment sprouts emerge and for several weeks afterward, to support healthy growth.
Watering the Plants
The potato plants need consistent watering to thrive. Keep the soil moist but not wet. Plants will wither in excessively dry soil, and potatoes will rot in excessively damp soil.
Hilling the Plants
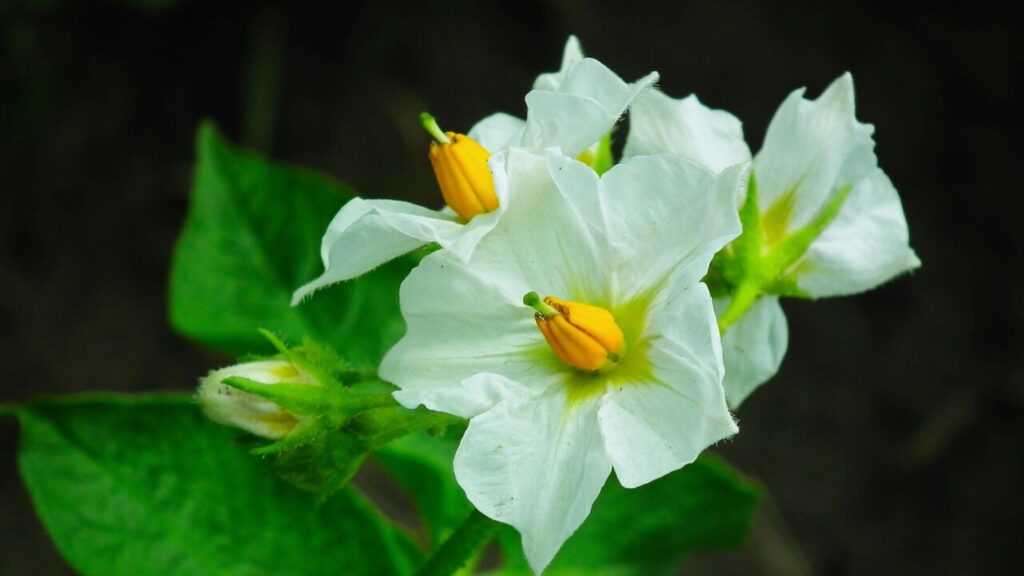
When the potato plants reach a height of 6 to 8 inches, around 33 days, it’s ok to grow them. Be cautious not to harm the plants when adding a few inches of soil mixture around their bases. On top of the developing stems, this procedure promotes the production of new potatoes. The potatoes taste better because of the darkness and depth that hilling creates.
Around 45 days in, I repeated the hilling process a few more times as the plants continued to grow. This extra space allows the potatoes to expand and develop roots and tubers properly. I always use a large pot or polybag, as a smaller container will restrict the proper development of the potatoes.
In about 6 to 7 days, new shoots will begin to emerge. I maintain even moisture, particularly from the time sprouts appear until several weeks afterward, to ensure healthy growth.
Provide Nutrients
After 60 days, I added organic compost such as leaf mold, vermicompost, and decomposed kitchen waste to encourage the growth of larger potatoes. You can add cow dung manure instead of vermicompost. Repeat this process every 25 to 30 days for the best results.
Harvesting the Potatoes
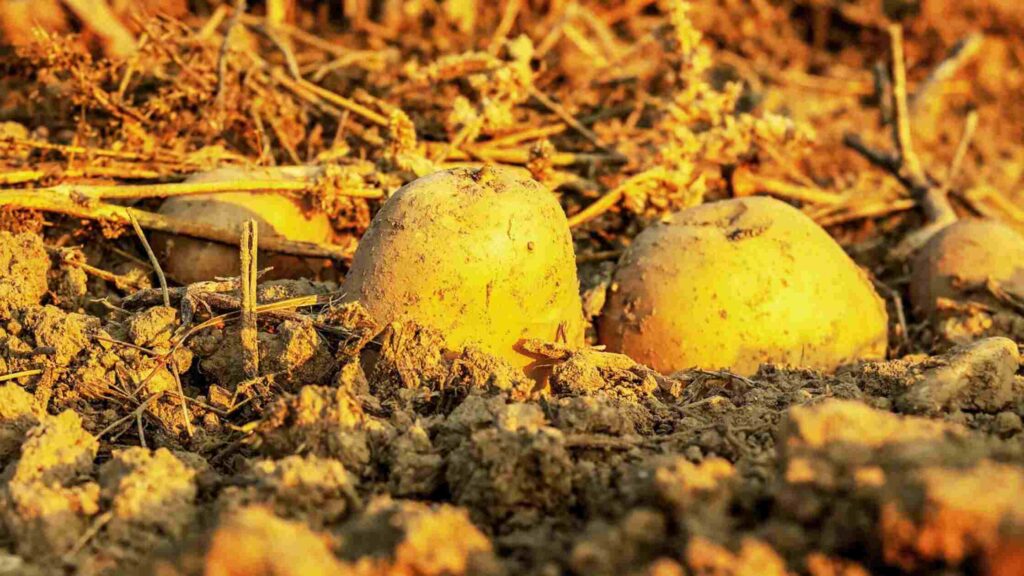
After 110 days, I harvested the potatoes when the greenery turned yellow. This indicates that the potatoes are ready to be dug up. The easiest way to do this is to turn the poly bag over and dump the contents into an empty container. Then, sifted through the soil to find all the potatoes.
You may find a few tiny potatoes; don’t discard them. These can be some of the best and sweetest potatoes, perfect for adding whole to a stew. For storage, brush off the dirt, then let the potatoes dry for a day in partial shade. They are best stored in baskets or paper bags that allow them to breathe.

