I am going to demonstrate all the information about how to Grow Tomatoes in a roof garden step by step with an update from the sowing of seeds till harvesting. How to grow tomato plants from store-bought seeds, as well as fresh seeds, extracted from tomatoes? How is the soil prepared for Tomatoes and Vegetables? Which fertilizer and how much fertilizer has to be given to it? How to protect Tomato trees from leaf curl and other diseases and insects? How to take care of Tomatoes to get more vegetables? In the end, I will explain, why tomato plants stop growing. Why do flowers drop before fruit formation? And what are the solutions to such a problem?
Growing Tomatoes from Seeds
Tomatoes grow best in late summer and early winter, while some kinds are accessible all year round. Typically, the entire process takes 100–120 days, from seed planting to crop harvesting.
Many tomatoes sold in stores are grown using synthetic fertilizers and harmful pesticides repeatedly applied by farmers. As consumers, we often have no alternative but to purchase these tomatoes. For optimal results, it’s essential to invest in high-quality seeds.
To grow healthy seeding always buy high-quality seeds and check for dates that should not be expired. Instead of sowing seed directly in the container I have used a seedling mix which will be 50% vermicompost/kitchen compost/cow dung manure along with 50% cocopeat.
One more thing that I usually mix in the scheduling mixture is Trichoderma. Trichoderma is actually for beneficial fungus which makes the root system strong and healthy. This organic natural fungicide protects roots from fungal diseases in the seedling stage. It helps to form a healthy root system. Trichoderma is also mixed with organic compost and given to plants to protect from fungal infection. Trichoderma is easily available in agriculture stores and online stores like amazo.com. Suggest mixing half a teaspoon of Trichoderma powder in seedling mix and making the mixture moist.
Trichoderma is also mixed with organic compost and given to plants to protect from fungal infection. Trichoderma is easily available in agriculture stores and online stores like amazo.com. Suggest mixing half a teaspoon of Trichoderma powder in seedling mix and making the mixture moist.
Potting Mix
To grow healthy seeding always buy high-quality seeds and check for dates that should not be expired. Instead of sowing seed directly in the container I have used a seedling mix which will be 50% vermicompost/kitchen compost/cow dung manure along with 50% cocopeat.
One more thing that I usually mix in the scheduling mixture is Trichoderma. Trichoderma is actually for beneficial fungus which makes the root system strong and healthy. This organic natural fungicide protects roots from fungal diseases in the seedling stage. It helps to form a healthy root system. Trichoderma is also mixed with organic compost and given to plants to protect from fungal infection. Trichoderma is easily available in agriculture stores and online stores like amazo.com. Suggest mixing half a teaspoon of Trichoderma powder in seedling mix and making the mixture moist.
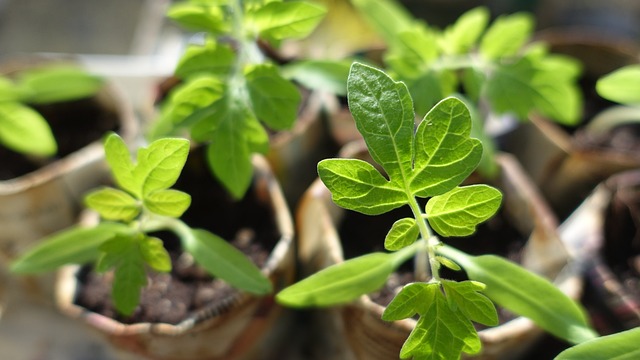
I have filled the seedling tray or small grow bags with the prepared mix to facilitate faster plant growth. I have sown 3-4 seeds in each grow bag. When the seedling grows bigger, you will remove the weaker seedling and let only a healthy one grow in each small bag. Then I covered the seeds with the mixture and kept the tray in the shade till germination. I planted the seeds in the mixture by making half-inch-deep holes in the soil, then watered them lightly. Subsequently, I watered the soil when felt dry to the touch. Then I put the tray in a bright location away from direct sunlight. Most of the time germination failure happens due to overwatering. So, water only to keep the seedling mix moist not soggy.
Location Selection for the Seedlings Mix
After 10 days, 90% of the seeds bought from the agriculture store have sprouted, and the plants have begun to grow with two or three leaves. I positioned the seedlings in a location that gets two to three hours of morning sunlight. By day 25, the seedlings have grown bigger and are prepared for transplantation into their permanent container.
Container Selection
If you’re cultivating Tomatoes in a large container, it’s essential to select the favorable size for getting optimal vegetables. A container measuring at least 24 inches wide and 18 inches deep is necessary. Growing a Tomato tree in a small pot stunts its growth, resulting in a thin stem and no vegetable production. Alternatively, you can select a container that is 16–20 inches broad, and 20–25 inches deep, or repurpose an old drum for planting. I have cultivated Tomatoes 16 inches broad, and 20 inches deep a repurposed old drum for planting. I ensured the container must have some holes for proper drainage.
Soil Preparation
Tomato plants need rich nutrition and well-drained potting soil to thrive. To create such soil, combine 50% garden soil, 30% organic compost, and 20% cocopeat or sand. Additionally, add 2 handfuls of neem cake powder, which acts as a natural fungicide. Once the soil was prepared, I filled up the container, leaving a 1-2-inch gap between the soil and the pot’s rim to facilitate effective watering.
Then I carefully removed the plant from its packet, observing its developed root system. I transplanted the baby tomato plants into your chosen container and watered them thoroughly. After keeping them in the shade for 4 to 5 days, move them into full sunlight, as tomato plants require at least 5 to 6 hours of sunlight to thrive. Always plant tomato seedlings as deep as possible; the stem will grow more roots. The denser the root system, the more the plant grows and the bushier and more stable it will be. When planting seedlings in a large container, I spaced them at least 6 inches apart. Then I watered thoroughly.
After 30 days, trim the plant’s growing tip. This stimulated the growth of extra side branches, giving the plant a bushier appearance. Increased branches equal increased tomatoes. After 50 days, the plants had flowered and become fairly bushy. At that point, I used a stick to provide the plant support. I used a piece of fabric to tie the plant to the stick so that the thickening branches were not damaged. After 60 days, the tomato plant reached its peak flowering stage, during which time some small green tomatoes began to develop. Because the male and female parts of a tomato are positioned within the same flow, tomatoes are self-fertile flowers that can self-ferment
Fertilizing and Watering the Tomatoes
If you’re cultivating tomato plants in a container, regular fertilization and watering are essential for proper growth. Organic manure is recommended, eliminating the need for chemical fertilizers. Once flowering begins, it’s crucial to provide organic compost or dung manure to the tomato plants as they require ample energy for flower and vegetable production. After transplanting into a container, I watered the plants regularly for 15 days. Then, every 15 days, I added two handfuls of well-rotted cow dung compost, vermicompost, or homemade compost per square foot and did light tilling. I have never used chemical or synthetic fertilizers in my garden because 100% organic vegetables have their unique taste and health benefits. For most of my plants, I applied homemade compost made from kitchen waste and achieved amazing results.
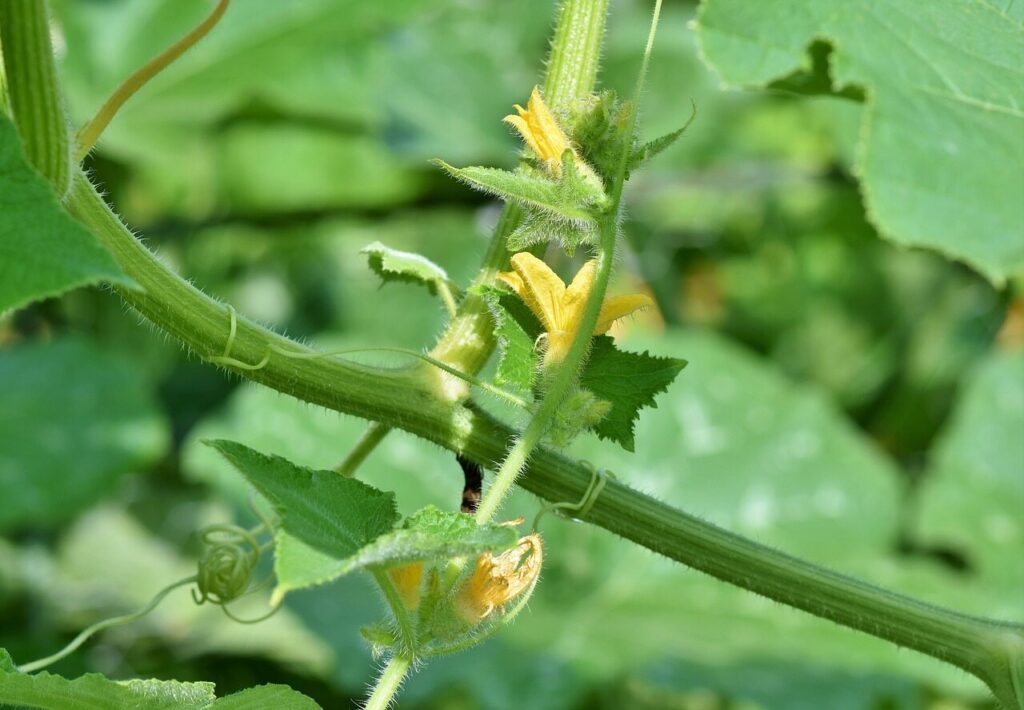
After 50 days, once flowering began, it was crucial to provide organic compost or dung manure to the tomato plant as it requires ample energy for flower and vegetable production. When the tomato plant is in the flowering stage, I watered the container only when the soil felt dry to the touch to avoid flower drops caused by overwatering. Distinguishing between male and female flowers is straightforward during this stage: male flowers are slender and elongated, whereas female flowers have a small vegetable forming underneath or behind the flower.
Pollination of Tomatoes Plants
After 8 or 9 weeks, Tomato flowers need pollination for better fruiting. If you can plant aromatic flowering plants in your rooftop garden, many pollinators like bees and butterflies will come, and they will pollinate vegetable plants. Through this pollination, I have obtained a lot of vegetables in my rooftop garden. When bumble bees or other bees land on tomato flowers, they vibrate their wings, and by this vibration pollination happens. When this natural process doesn’t happen, flowers start to drop before fruit formation. In this case, you need to do hand pollination. Just tickle and vibrate flowers with your finger like this.
For hand pollination, I have removed male flowers and their petals. Then brush the female flower stigma at the center of the loom. This type of hand pollination makes it certain to turn a flower into a vegetable. After 7 days of hand pollination, female flowers have converted into fruits.
Fruiting Stage
After 60 days, I have seen many small fruits in Tomatoes tree. After 80 days, most of the tomato fruit flowers were converted into green tomatoes. The branches grow long. Then I protected branches from breaking with the weight of tomatoes and I tied the plants and gave them support. This is the result of plants grown from store-bought seeds.
Harvesting Period
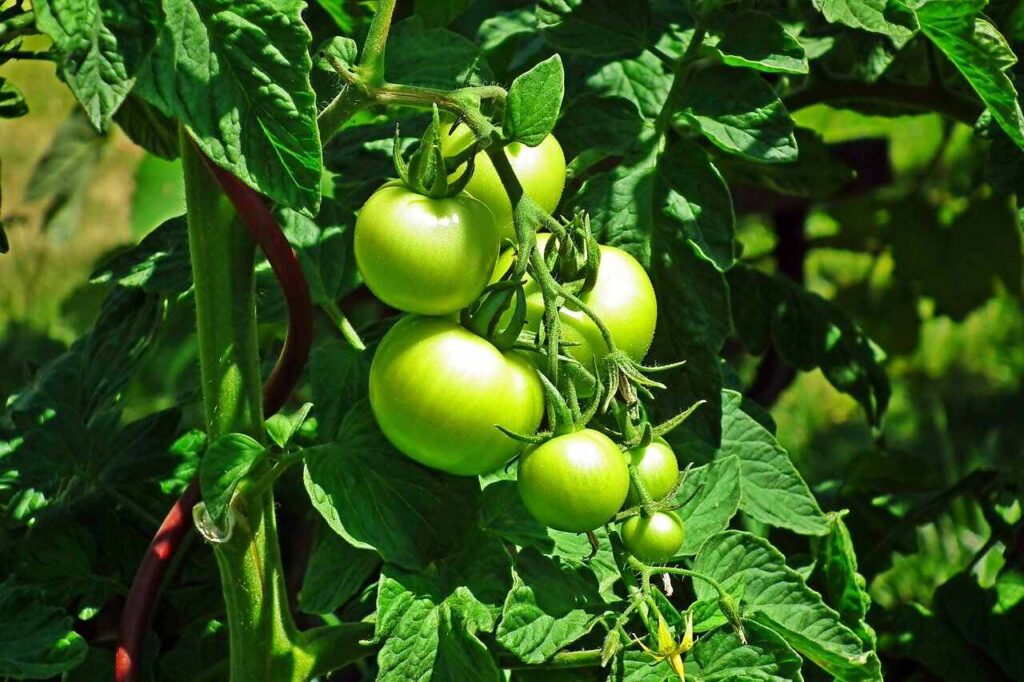
After 90 days, it has matured enough to take the green and ripe Tomatoes vegetables which were ready for harvesting. Then leaves of the tomato plant were also turning yellow and drying. I removed drying leaves and lower leaves from time to time. This helps plants to focus their energy on fruit growth, rather than growing leaves. After 100 days, the tomato plants bearing green tomatoes which I have bought from the agriculture store are ready for harvesting.
Tomatoes Diseases and Pests Management
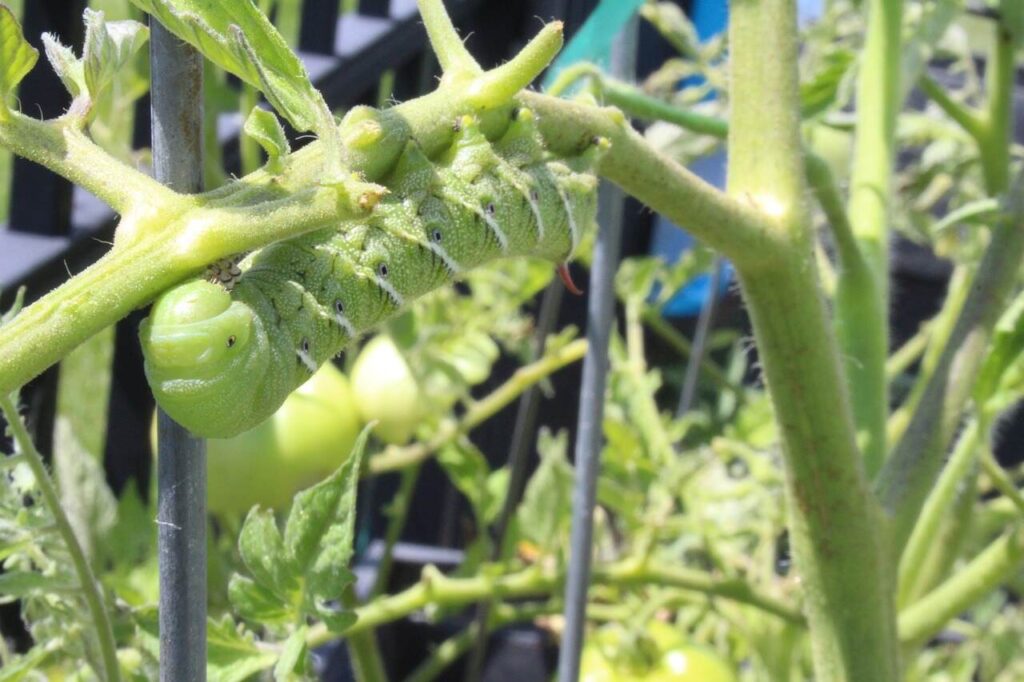
The most common pests that attack tomatoes include aphids, spider mites, and powdery mildew. To control these pests, it’s advisable to regularly spray tomato plants starting from the seeding stage with a solution of 5 ml of neem oil mixed with 1 liter of water every 15 days. I applied the neem oil solution to the affected plant to prevent whiteflies in the early stages. Baby fruits are often attacked by fruit fly which lay eggs inside the fruit and later the lava spoils the fruit from inside. I made tiny holes in polybags and used the cotton bags to cover the fruits and protect them from fruit flies.
Many vegetables are super easy to grow in containers, and Tomatoes are one of those. Moreover, in just 3 months your Tomatoes will become ready for harvesting. It can be grown twice a year.

