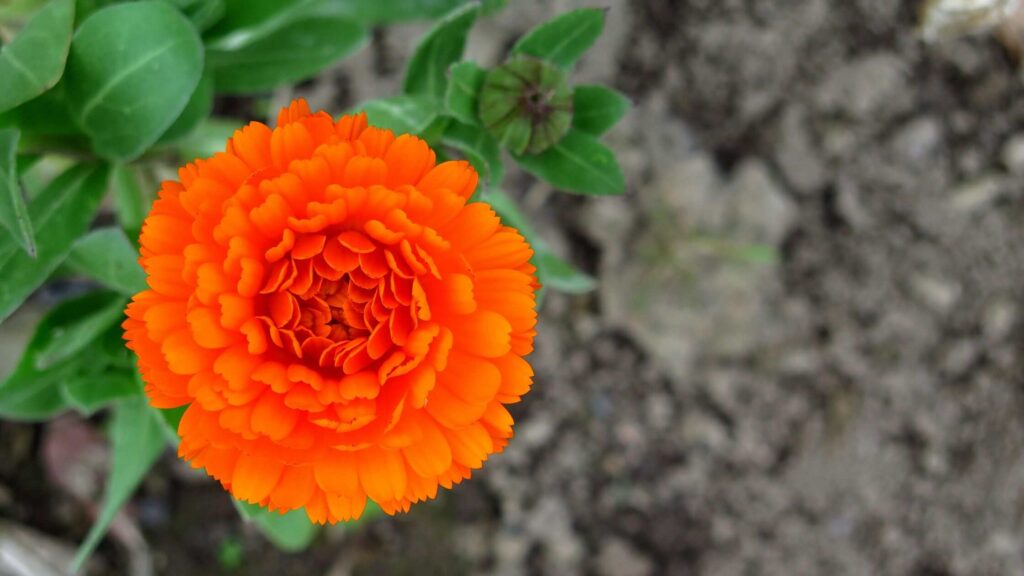
A beautiful plant, calendula can add vivid golden colors to a garden. They grow easily from seed to maturity in around 6 to 8 weeks. It may thrive with very little attention, even with minimal watering and fertilizer application. Here I discover the easiest flower to grow from seed with simple tips on planting, care, and maintenance to enjoy a colorful garden.
Preparing Soil Mix
I started by filling small pots with seed starting mix, leaving some space at the top for effective watering. For a germination mix, combine 40% coco peat, 30% garden soil, and 30% vermicompost. Press the mix with the hand to create an even surface. This blend contains all the nutrients the plants need until they are transplanted.
Starting Plants from Seeds
Before planting, moisten the soil until it is damp but not wet. I placed the seeds on the surface of the soil mix, keeping a 1 to 2-inch gap between them to prevent interference with each other’s growth. Calendula prefers cooler temperatures, ideally between 10-28°C, and often stops blooming in extreme heat. I covered the seeds with ¼ inch of soil mix to protect them and ensure proper growth.
Most regions allow for the year-round cultivation of calendula; however, intense heat or cold should not be experienced during planting since it may hinder germination and growth. To guarantee that the seeds make good contact with the soil after planting, gently press the soil. Water right away, being careful not to wash the seeds from their locations.
A bright spot with 5 to 6 hours of direct sunlight every day is ideal for the pots. For best results and germination, the soil should always be slightly damp. New seedlings emerge and the seeds sprout in 3 to 5 days. When the soil’s top layer gets dry in the early stages of growth, I gave the plants regular irrigations but didn’t overwater. The seed starting mix should have a consistency that is damp but not wet, similar to that of a well-wrung sponge.
The majority of the plant’s growth has been occurred during the vegetative stage, which began after around 35 days. The seedlings were prepared for transplanting after 45 days, at which point they were 4 to 6 inches tall with fully formed root systems. Carefully separate each plant by gently teasing away its roots with a little trowel.
Transplanting the Plant into a Container
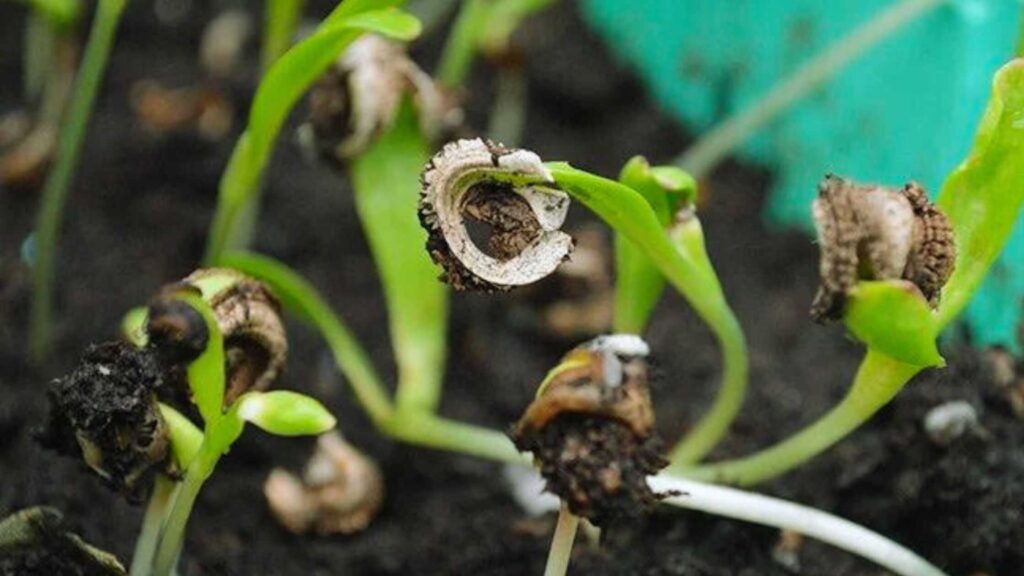
I selected a sizable container that was between 15 and 16 inches deep and broad. Depending on preference, you can use cement, earthen, or plastic pots. Calendula grows best in well-drained soil that is high in organic matter, just like most other members of the Daisy family. I used half garden soil, half vermicompost, and twenty percent river sand for that.
I made holes that were roughly twice as big as the root ball, carefully planted the seedling inside, and then covered the hole with dirt. I ensured the dirt was at the same level as the plant’s base. And I was careful not to bury the stem. 3 to 4 calendula plants, spaced 4 to 6 inches apart, can readily be grown in a pot that is 14 to 15 inches broad. However, I ensured that the bottom of the pot had three or five drainage holes. Tamped the dirt around the seedling gently to achieve the best possible root-soil contact.
After transplanting, I soaked the soil around the new seedlings immediately to settle the roots, eliminate air pockets, and reduce the transplanted shock. For the next 2 to 3 days, I kept the pot in partial shade and maintained slightly moist soil, never allowing it to dry out completely.
Fertilizing and Watering the Plant
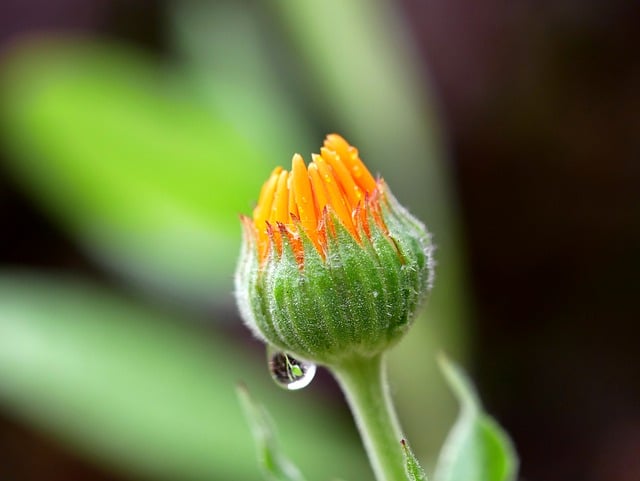
By day 55, the stems of the calendula plants have grown strong and sturdy. While their roots have dug deeper into the soil, providing essential support for further above-ground growth. With compost in the soil mix, fertilization may not be necessary, but a high-phosphorus formula can encourage more abundant flowering. I applied 10 to 12 granules of DAP (Diammonium phosphate) per plant, making holes away from the main stem and placing 15 to 20 granules into each hole before covering them with soil mix. Then watered the plants after fertilization aids in dissolving the fertilizer and transported nutrients to the roots for absorption.
Calendula plants typically begin blooming 45 to 60 days after germination. By day 65, as the plants continue to grow, remove the first few buds. Pinching back young plants encourages more compact, bushy growth and prevents them from becoming leggy.
Around day 72, the plant shifted its energy focus from leaf production to budding and blooming. By day 76, calendula plants reached heights of up to 15 inches and widths of about a foot, depending on the variety.
Sunlight Location
After 80 days, calendula thrives best in full sunlight, although they can tolerate up to 25% shade. I avoided planting them in fully shaded areas, as they don’t thrive.
At this stage, the “Touch of Red” variety exhibits reddish overtones on its yellow-orange and cream flowers, with deep red coloring on the back of each petal. These 12 to 15-inch-tall plants produced 2-3 flowers that gradually decrease in size over the blooming period.
By day 84, the “Bon Bon” series presents a mix of yellow and orange double flowers, each measuring 3 to 4 inches across. These uniformly compact plants reached a height and width of 12 inches. After 88 days, consider planting calendula not only in herb gardens but also in vegetable gardens as a companion plant.
Harvesting the Plant
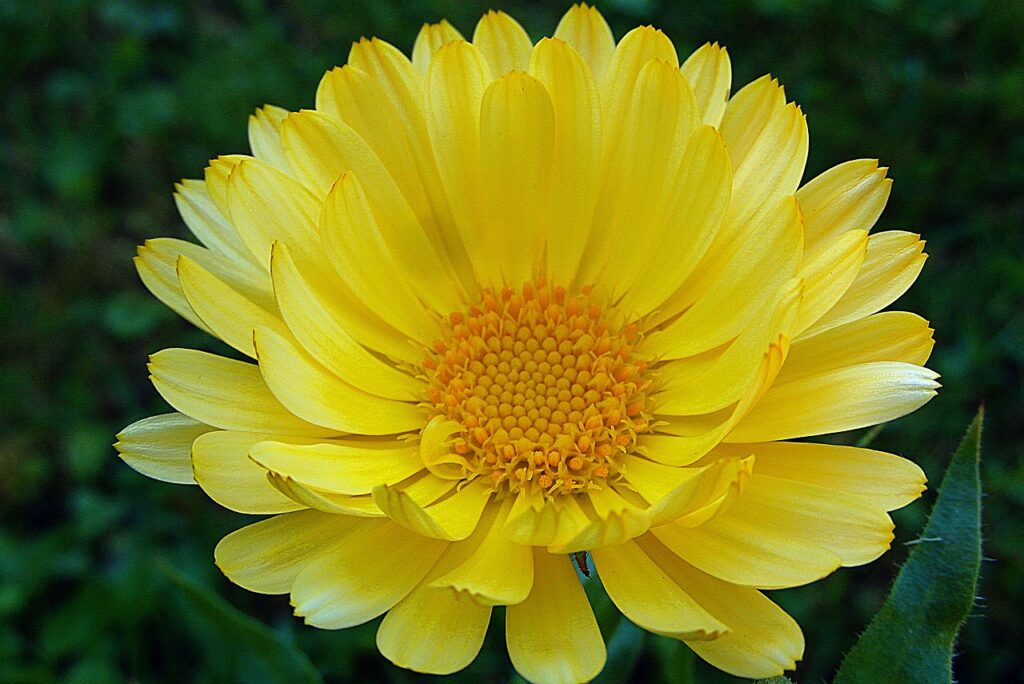
In the garden, calendula is a great ally since it draws pollinators such as bees and butterflies as well as helpful insects that eat pests like aphids. Day 100: Both the orange and yellow blossoms might become somewhat reddish. Calendula is prone to root rot, so it’s important to make sure your pots have enough drainage. Breaking off flower heads before they turn into seeds stimulates the plant to put out more blossoms, prolonging its life and increasing its production.
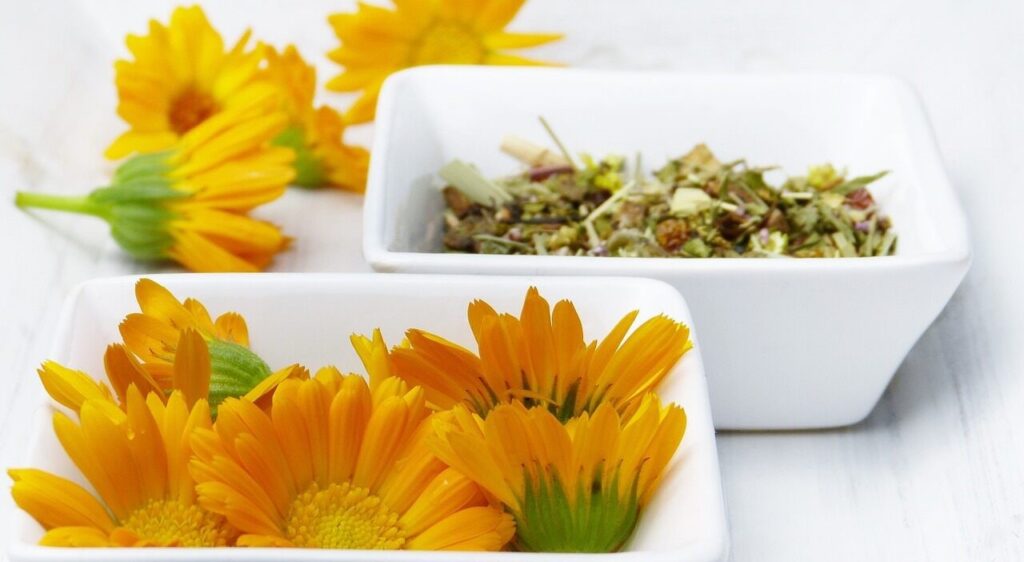
The plant will blossom in its place more abundantly the more flowers you pick. For the blossoming season to last longer, harvest the flower heads every three to five days. Make sure not to damp the leaves or stems when you water the roots. Deadheading, or removing spent blooms, is essential to keep the plant from going to seed and stopping to produce flowers. But don’t forget that calendula seeds can be stored for next year. To ensure a constant display of blooms, I kept deadheading wasted blooms after 120 days to encourage additional flower production.
Conclusion
Calendula stands out as one of the most effortless flowering plants to cultivate in a garden. Thriving with minimal care, it can endure sparse watering and scant fertilization. Therefore, it’s advantageous to allow some seeds to mature at the close of the season. I ensured that the seed heads fully developed on the plant before harvesting; they have been turned brown and dry as they mature, typically around day 160.
Collecting Calendula Flower seeds is a straightforward process. Once the flower seed heads have dried on the flower, they are ready for harvest. A gentle touch will prompt them to fall into your hand, making flower seed collection a breeze.

