Here I am presenting you the easiest vegetables to grow in pots in my roof garden in brief.
Planting the Radish Seed
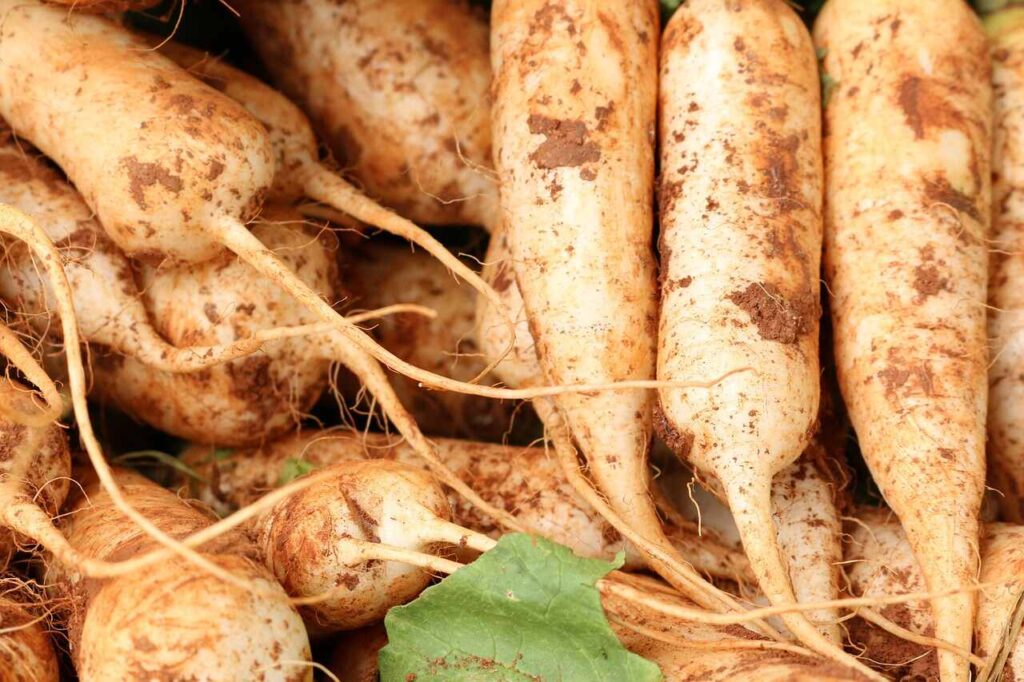
Radishes are renowned for their rapid growth, offering a variety of options in the market. It’s best to sow seeds directly at the final planting site since they don’t transplant well. Winter marks the beginning of radish growing season. For optimal growth, opt for loose, well-drained, sandy soil, enhanced by a mix of river sand, garden soil (60%), and compost (40%). Ensure thorough watering after planting.
Thinning
Once seedlings emerge, thin them to 2-3 inches apart, allowing unhindered growth. Maintain consistent soil moisture to support rapid development. The greens of radishes are also edible. Harvest when roots reach 1 to 2 inches in diameter by gently pulling the entire plant from the soil. Growing radish seeds in pots yields high-quality produce with minimal effort.
Planting the Tomato Seed
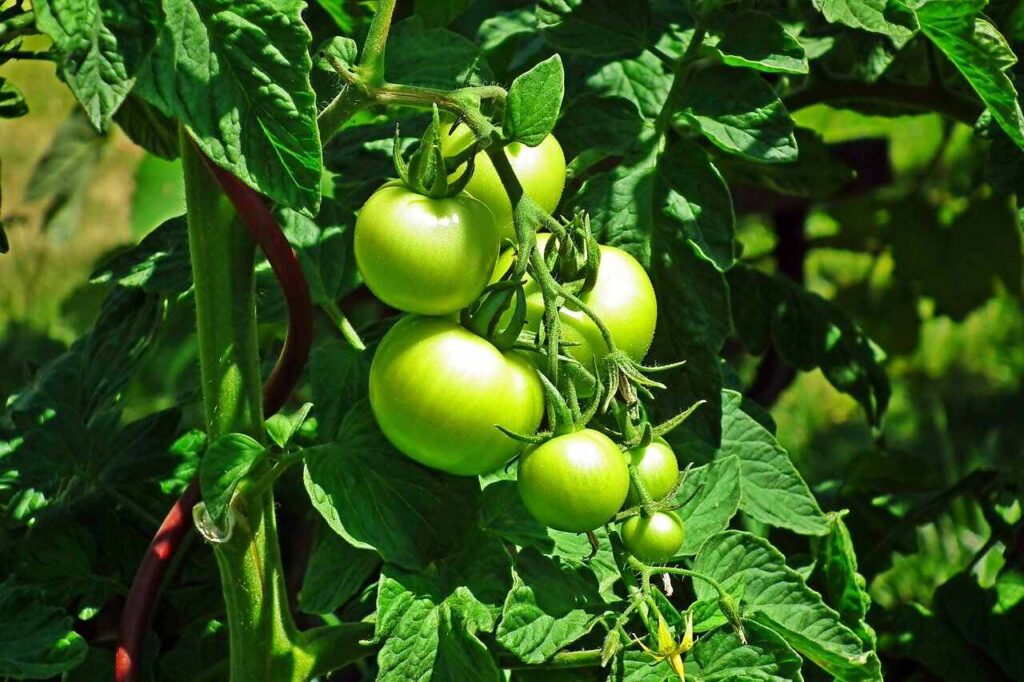
When seedlings are 5–6 inches long, plant them. Plant the leaves as deeply as you can after removing the bottom ones. Make holes in the soil mixture that are 3 to 4 inches deep. Gently plant the seedlings in the middle of the holes, and then cover them with soil. 60% garden soil and 40% compost should make up the soil mixture. Since tomato plants produce roots along any hidden region of the stem, deeply planting the plants promotes higher growth. Water the plants thoroughly after relocating them. For two plants, choose a container that is at least 20 inches across and 12 inches deep.
Give plants some support as they grow tall. Support the plant with sticks and trellis. Tomato seeds thrive in cold climates. Use two or more lengths of thread to loosely tie the stems to the sticks. Since tomatoes are big feeders, they require an abundance of nutrients to yield well into the growing season. Add two to three handfuls of compost per plant every fifteen days. Within 35 to 45 days of transplanting, you should begin to see fruit develop.
Once the tomatoes turn red, harvest them one by one. You can cut them from their branches with garden shears. Tomatoes are available in nearly every color, including white, purple, black, and yellow. There is a plenty of tomato varieties to select from.
Planting the Chilli Seed
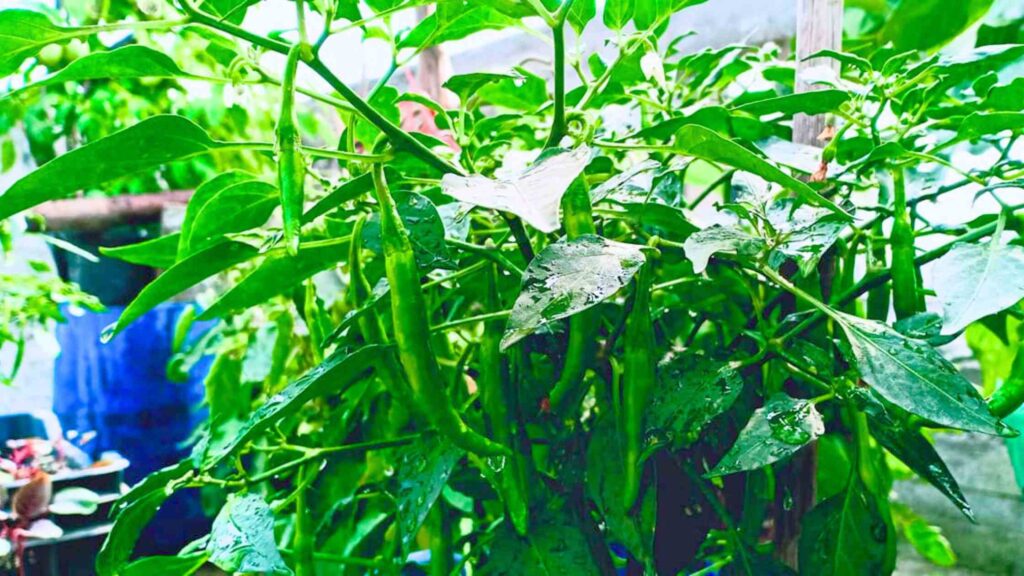
Growing chili peppers from seeds is simple. Invest in high-quality seeds for increased yields. The same soil mixture should be applied in a fine layer over the seeds once they have been sown on the ground. Garden soil (40%), cocopeat (30%), and compost (30%) will make up the seed-starting soil mix. Apply a layer of dirt on the surface of the seeds. Utilizing a watering can hydrate the soil. You can cultivate the seeds all year round but keep them away from very cold or very warm weather.
Transplanting the Tree
Transplant the seeds when they reach 4-5 inches in height or have 4-6 leaves. Carefully remove the seedlings with their root balls intact to prevent transplant shock. Prepare a 2-3-inch-deep hole in the soil mix, place the root ball in the center, and fill the hole with the soil mix. The soil mix should consist of 50% garden soil, 40% compost, and 10% perlite or sand. For optimal pollination and higher yields, plant chili plants in groups. Use a container that is at least 25 inches in diameter and 8 inches deep, and place it in a sunny spot that receives 5-7 hours of sunlight daily. Pinch out the tops of the plants to encourage branching. You can also use smaller pots, with 6-8-inch diameters being sufficient for one plant.
The harvest time for chillies varies by type, but you can tell they are ready by their size and color. Growing chillies at home is rewarding due to their wide variety of colors, sizes, tastes, and spice levels. Homegrown chili peppers offer excellent color, texture, and flavor, including many unique shapes and colors not commonly found in stores.
Planting the Peas Seed
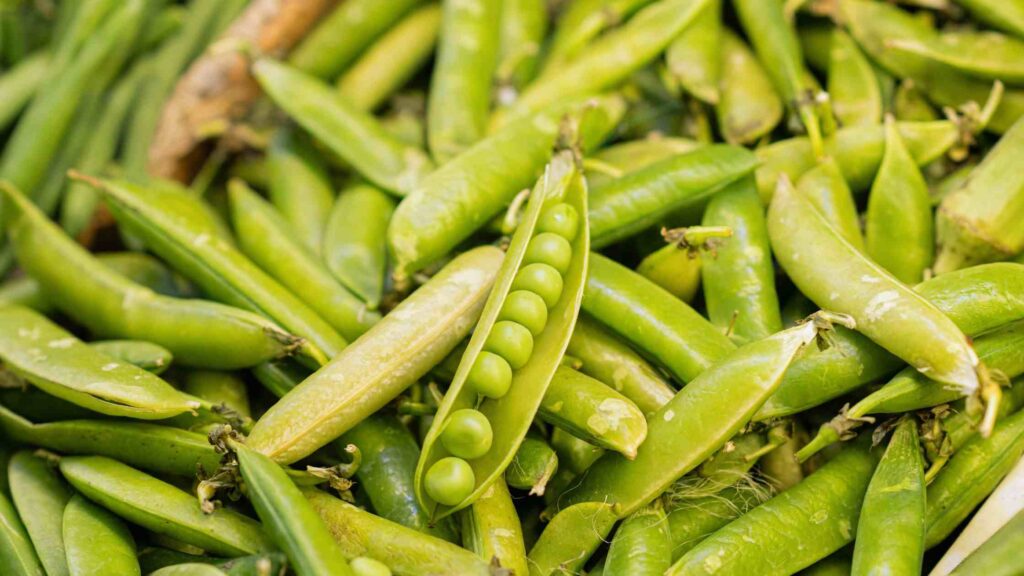
Peas are the perfect vegetable to grow in container gardens. Soaking the seeds before planting significantly decreases the time it takes for a seed to germinate. After soaking for 15 hours, plant the seeds in a potting soil mix of 60% garden soil and 40% compost. Peas start growing in the winter season. In a 20-22-inch diameter pot, you can easily plant 4 to 5 pea plants. Sow seeds 4 to 5 inches apart for healthy growth. Peas grow quickly and don’t need much attention. They do need full sunlight, and the soil needs to be kept moist. As the plants grow, create a support structure using bamboo poles or stakes.
Compost should be added every 15 days to ensure consistent growth. Peas are seldom affected by insects or disease and are generally ready to be harvested about three weeks after flowering begins. By around 60 days, a single plant typically produces 22 to 25 pea pods. By the 72nd day, the peas are fully matured and ripe, ready for harvesting. As they age past their peak, they tend to become starchy and lose their sweetness.
Planting the Cabbage & Cauliflower Seed
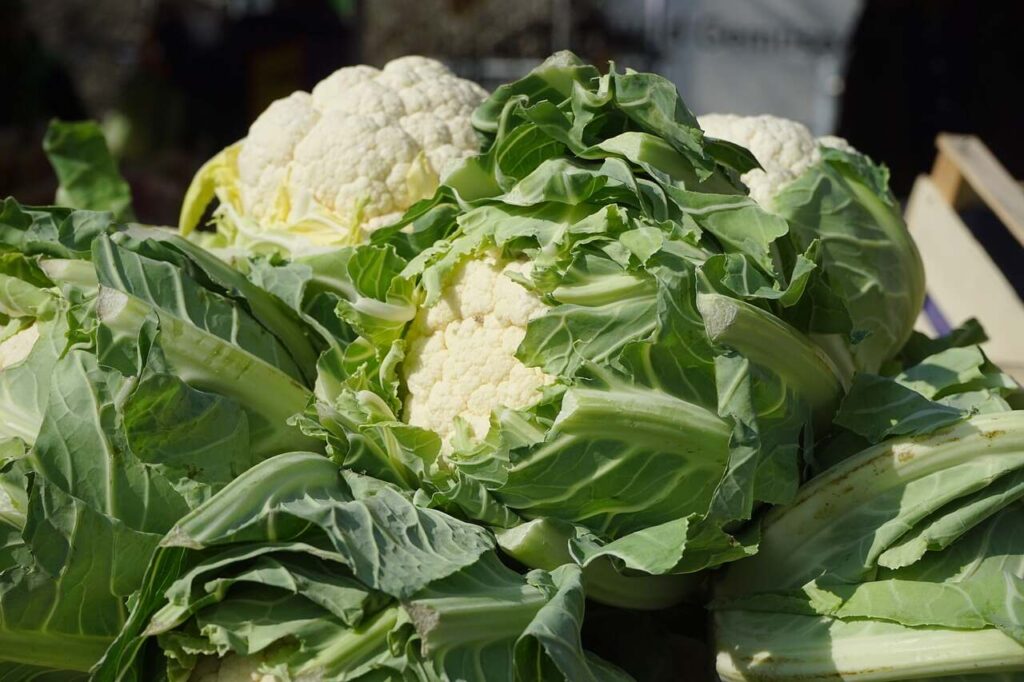
Cabbage and cauliflower belong to the same family. Begin with seeds and prepare seedlings separately, as their seeds appear similar. The seed starting mix comprises 40% garden soil and 30% compost. These crops thrive in cold climates.
Transplant seedlings when they reach 4 to 5 inches in height or have 4-5 leaves. In a 22-inch diameter pot, you can comfortably plant 3-4 plants, maintaining a 6-8-inch gap between them for healthy growth. The transplanting soil mix consists of 60% garden soil and 40% compost. Follow the same steps for broccoli. These plants require 5-7 hours of direct sunlight for robust growth and head formation. Alternatively, you can plant a single plant in a 7-8-inch diameter pot.
Apply compost as a side dressing every 15 days to promote healthy, large-sized heads. Maintain regular and even watering to keep the soil slightly moist, never allowing it to dry out completely. Under favorable growing conditions, the heads will rapidly develop to about 6 to 8 inches in diameter. Purple cabbage typically takes 20-25 days longer than the green variety to mature. Harvest by cutting the whole head from the main stem. A mature head should be compact and firm.
Planting the Garlic Seed
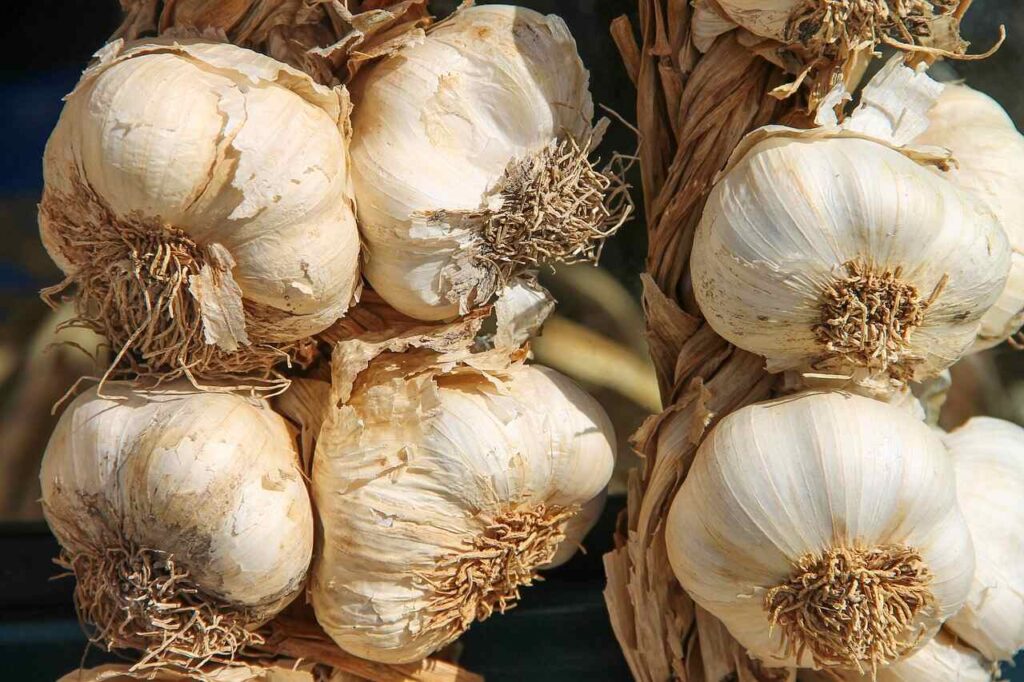
Add some river sand to the soil mix (use 50% garden soil, 30% compost, and 20% river sand or perlite) for good development. Cold climates are ideal for garlic growth. The largest cloves should be planted after the bulb has been broken apart since they have the best chance of sprouting. With the flat end facing down, press the clove into the ground. Make sure to put them 4 to 6 inches apart and deep enough to allow the roots to develop freely. Next, use copious amounts of water. The container should be placed in an area that gets five to seven hours of sunlight per day. Dig up the top layer of soil every ten to fifteen days to keep it fluffy and soft, which promotes bigger bulb growth.
To prevent soggy conditions, water the soil immediately after it begins to dry up. The garlic cloves are ready to be plucked when the green leaves turn brown and eventually die off, which usually takes six to eight months. After removing the cloves from the ground and brushing off the soil mixture, hang them in a well-ventilated, dry place until they are completely dry.
Planting the Carrot Seed
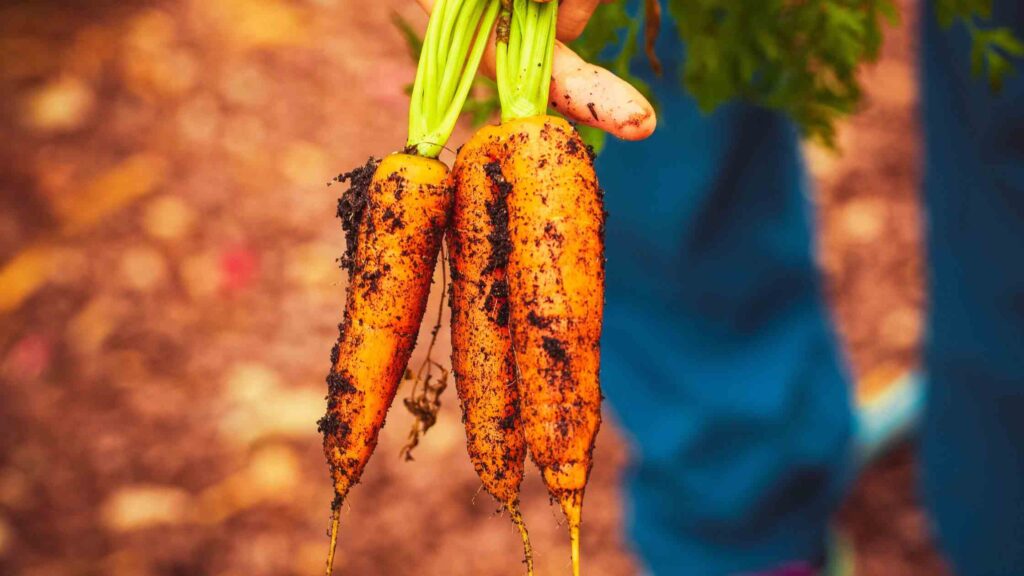
Choose varieties with shorter maturation times, especially suited for cold climates. To ensure a bountiful harvest, mix garden soil, compost, and river sand in equal proportions. Use a deep container, ideally 12-15 inches deep, to allow the edible root to grow well into the soil, and maintain consistent moisture levels to maximize growth.
After 25 days, thin carrot seedlings to about 2-3 inches apart after germination. After 50 days, regularly feed carrots with manure or compost, repeating every 20 days. By this time, most carrot varieties begin to produce small fruits. Carrots are typically ready to harvest in 60-75 days, but baby carrots can be harvested much earlier. After 80 days, carrots can be harvested by pulling them straight out of the soil.

